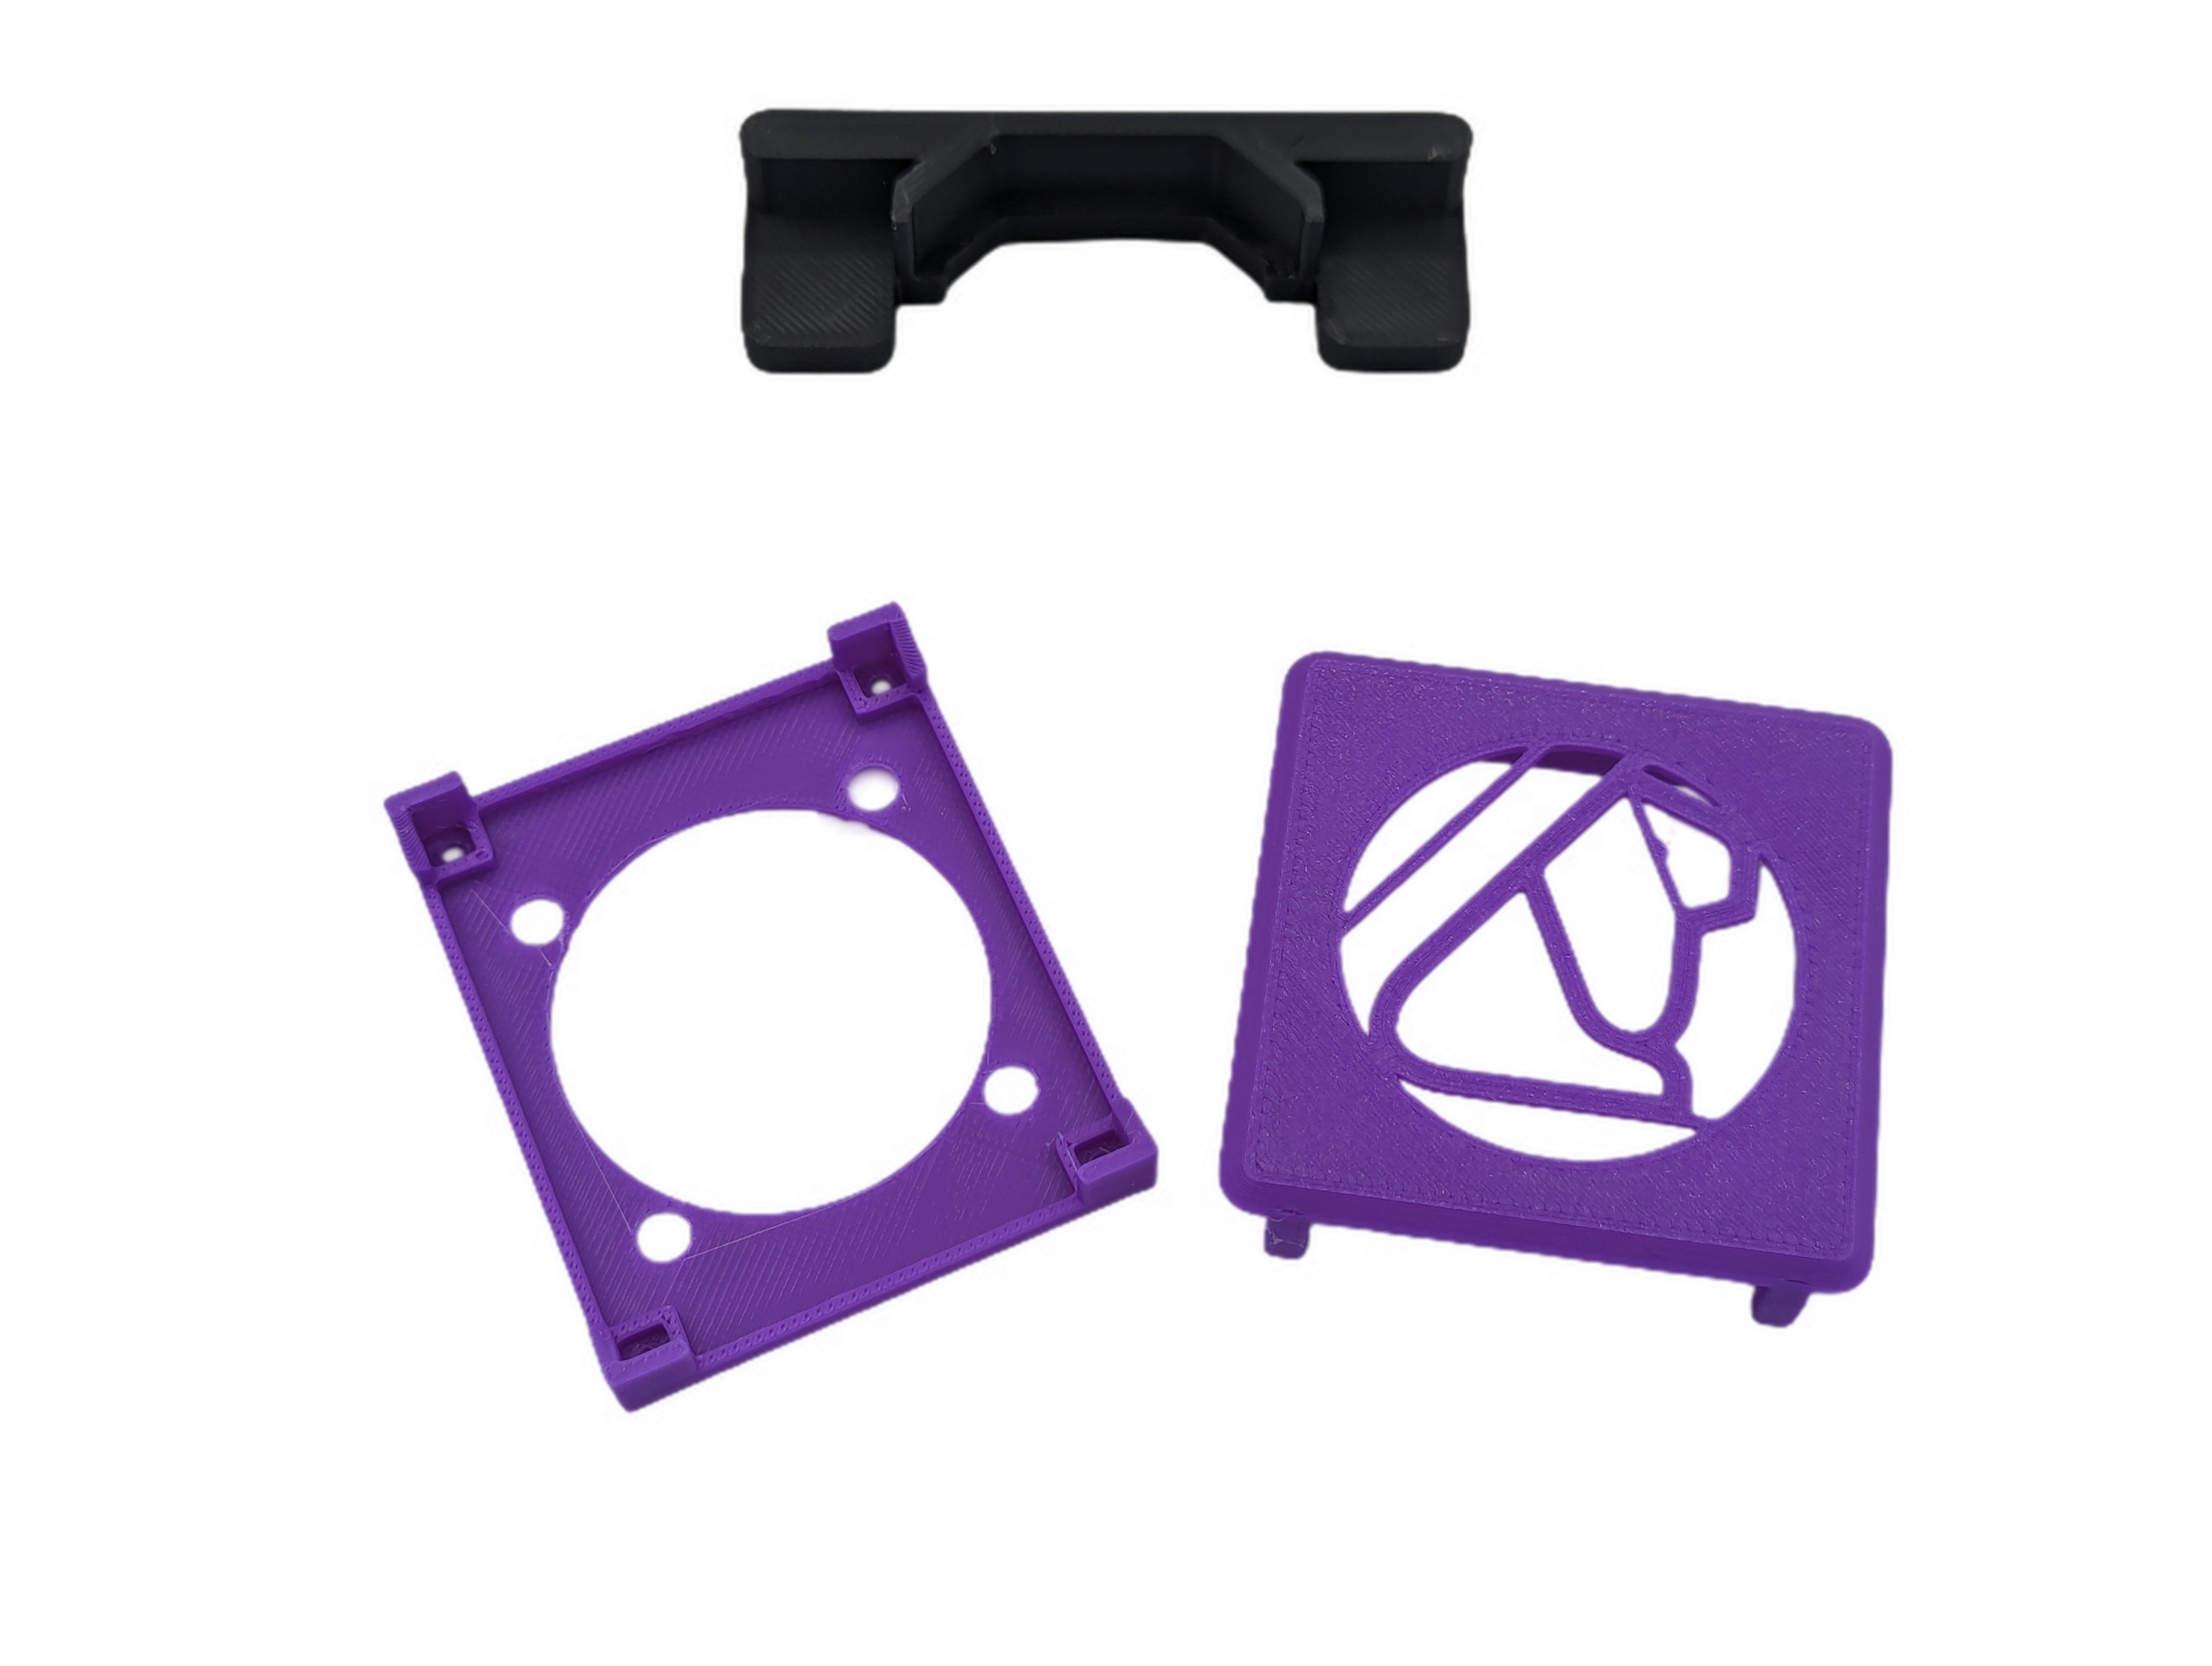
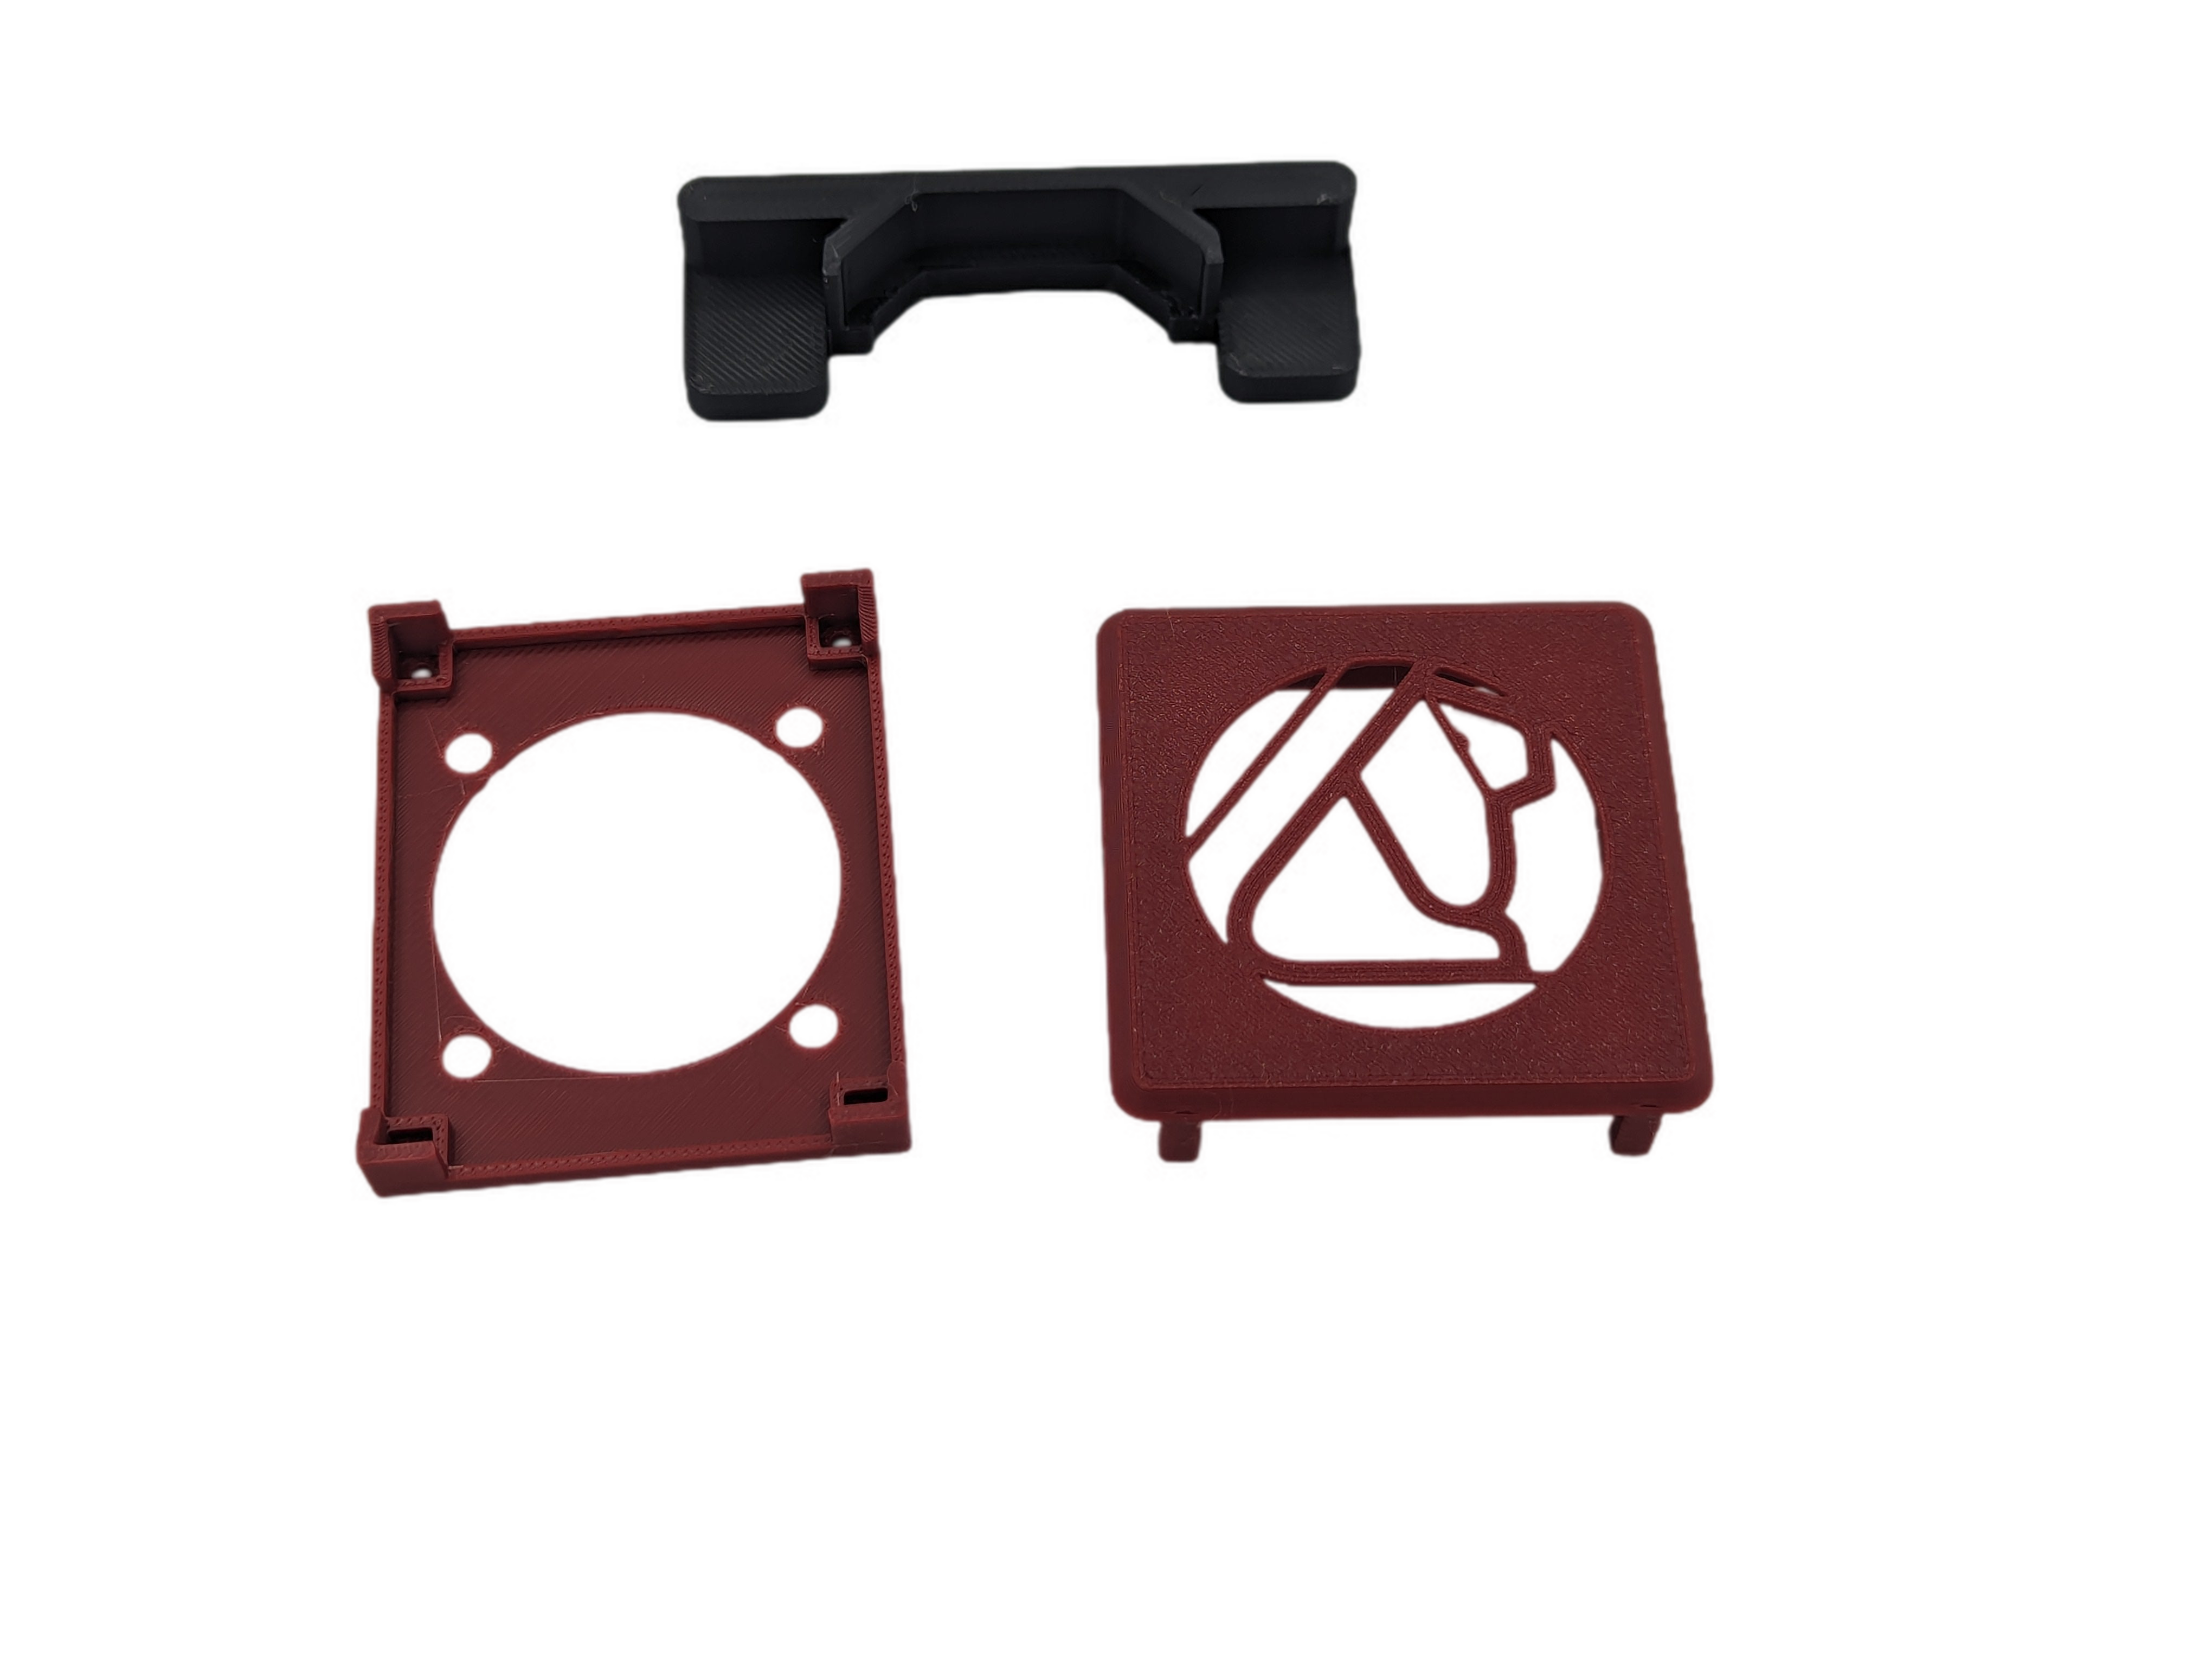
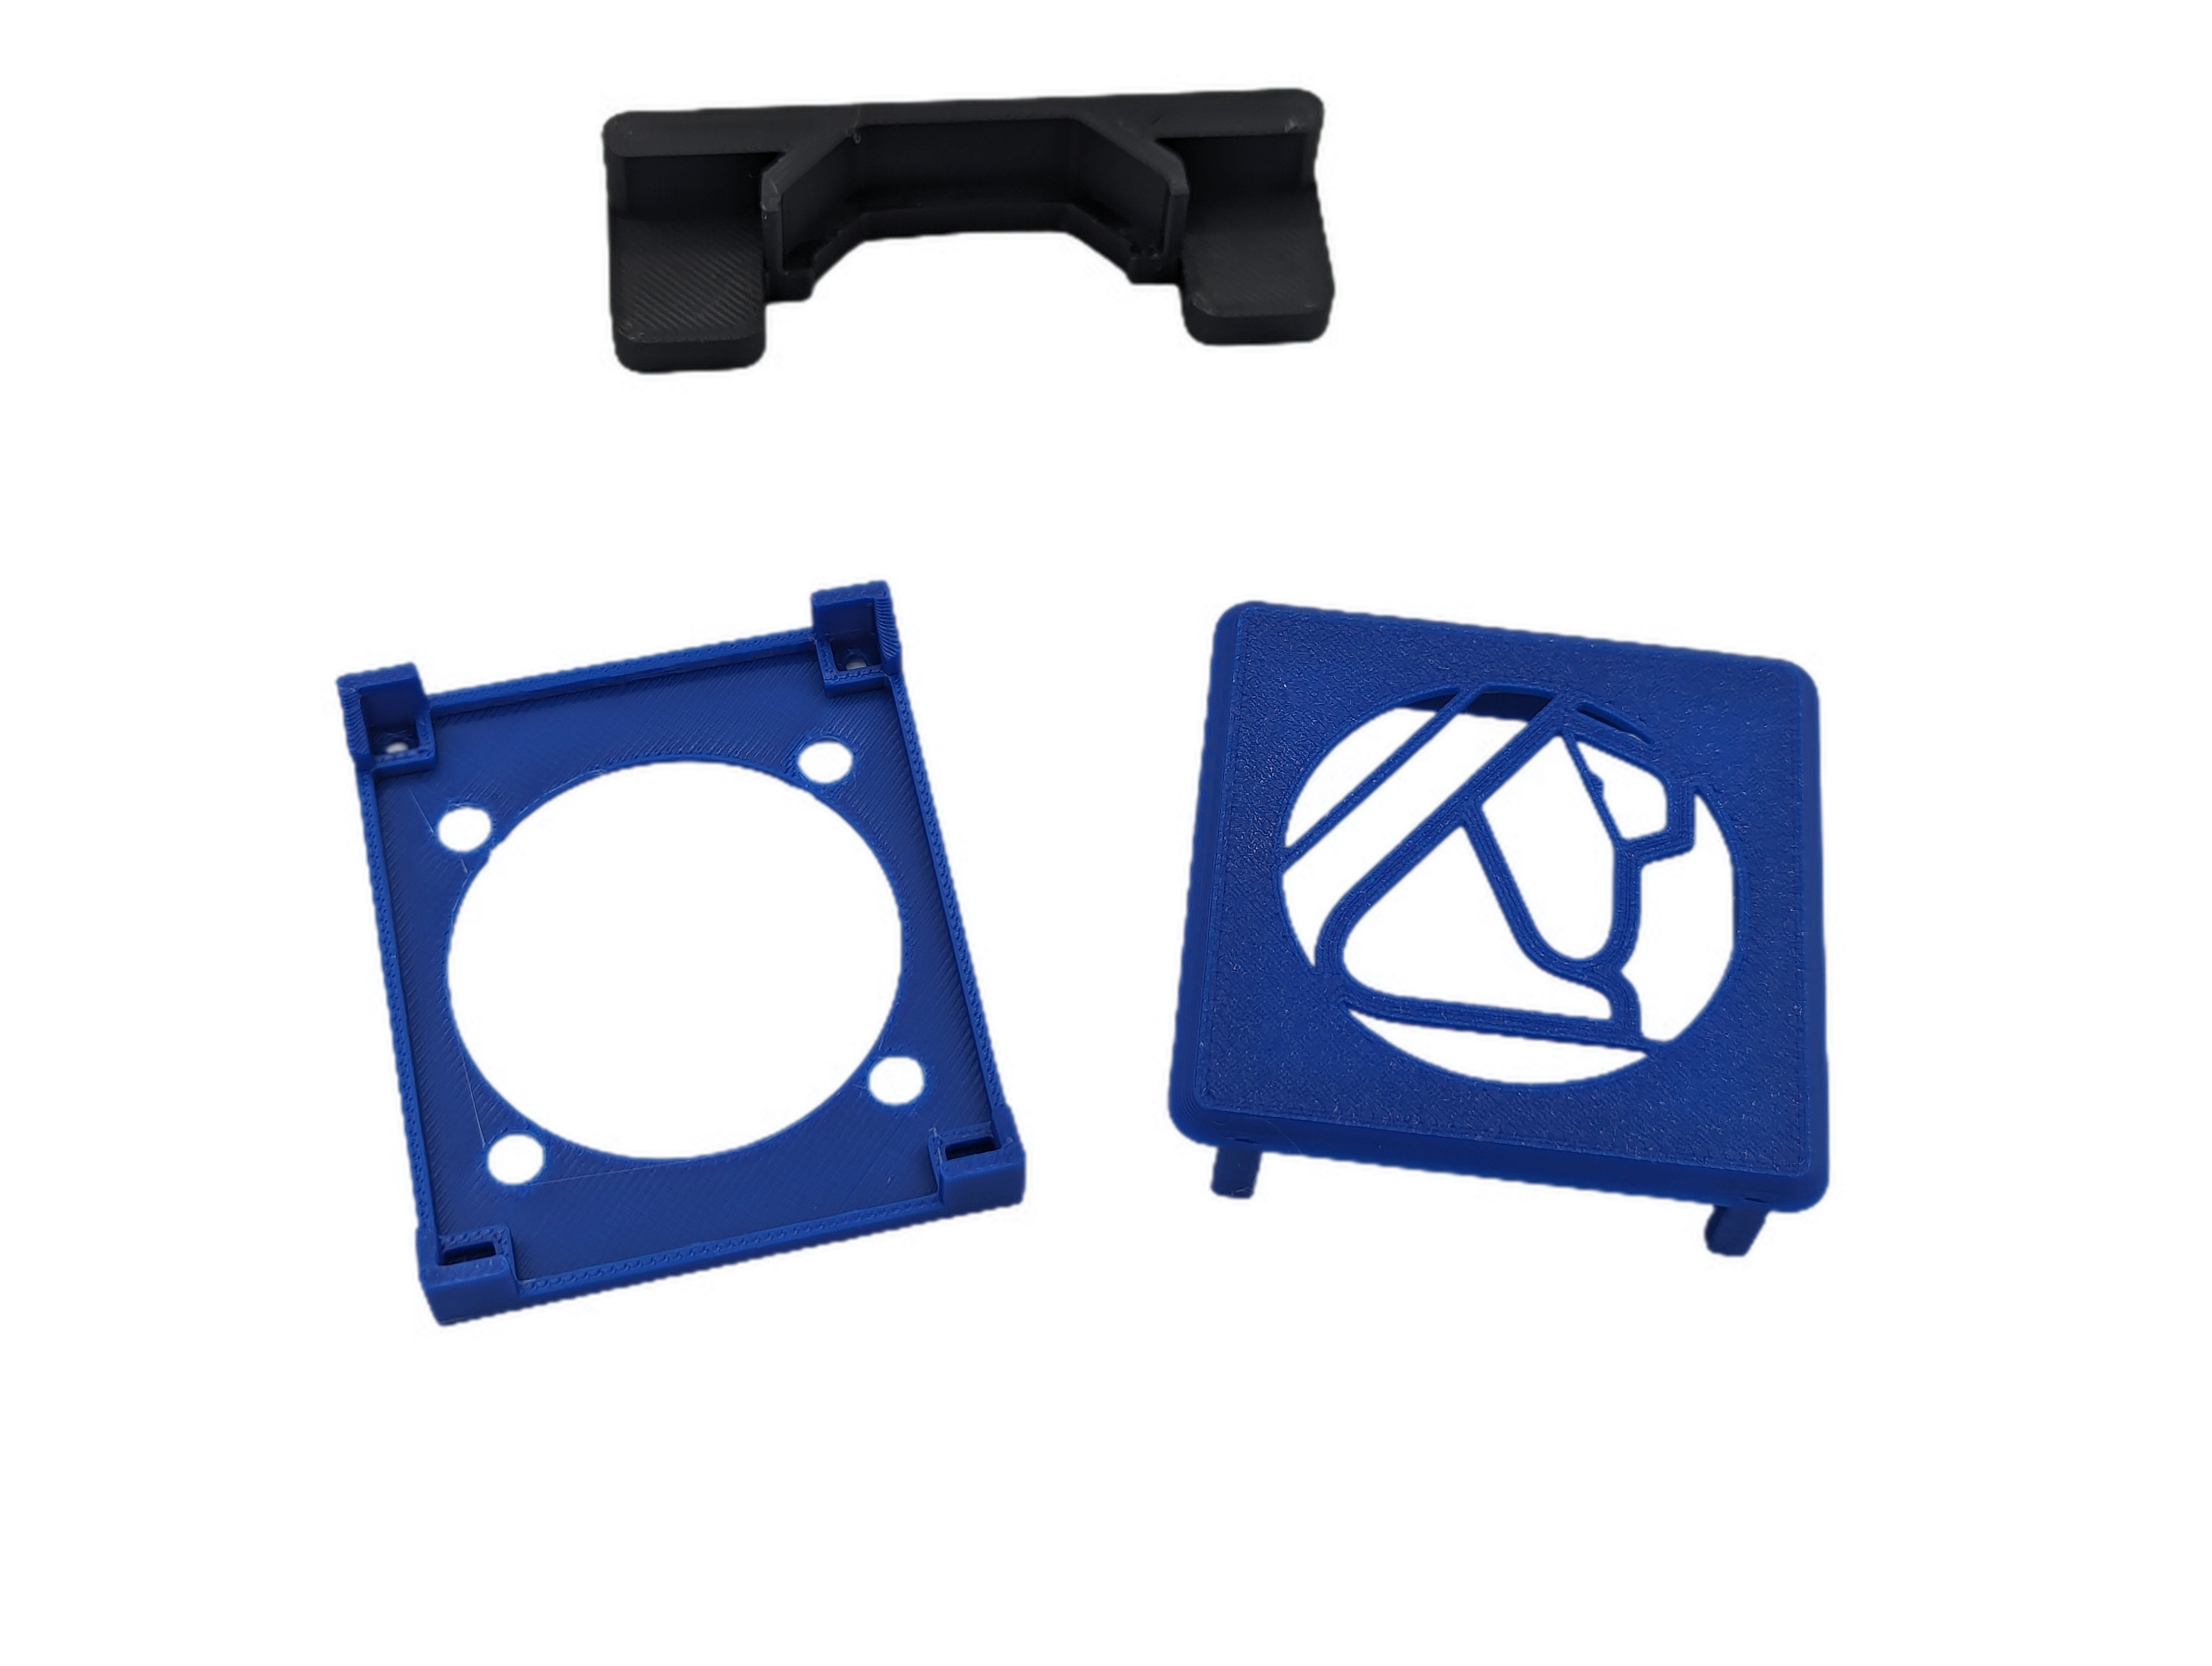
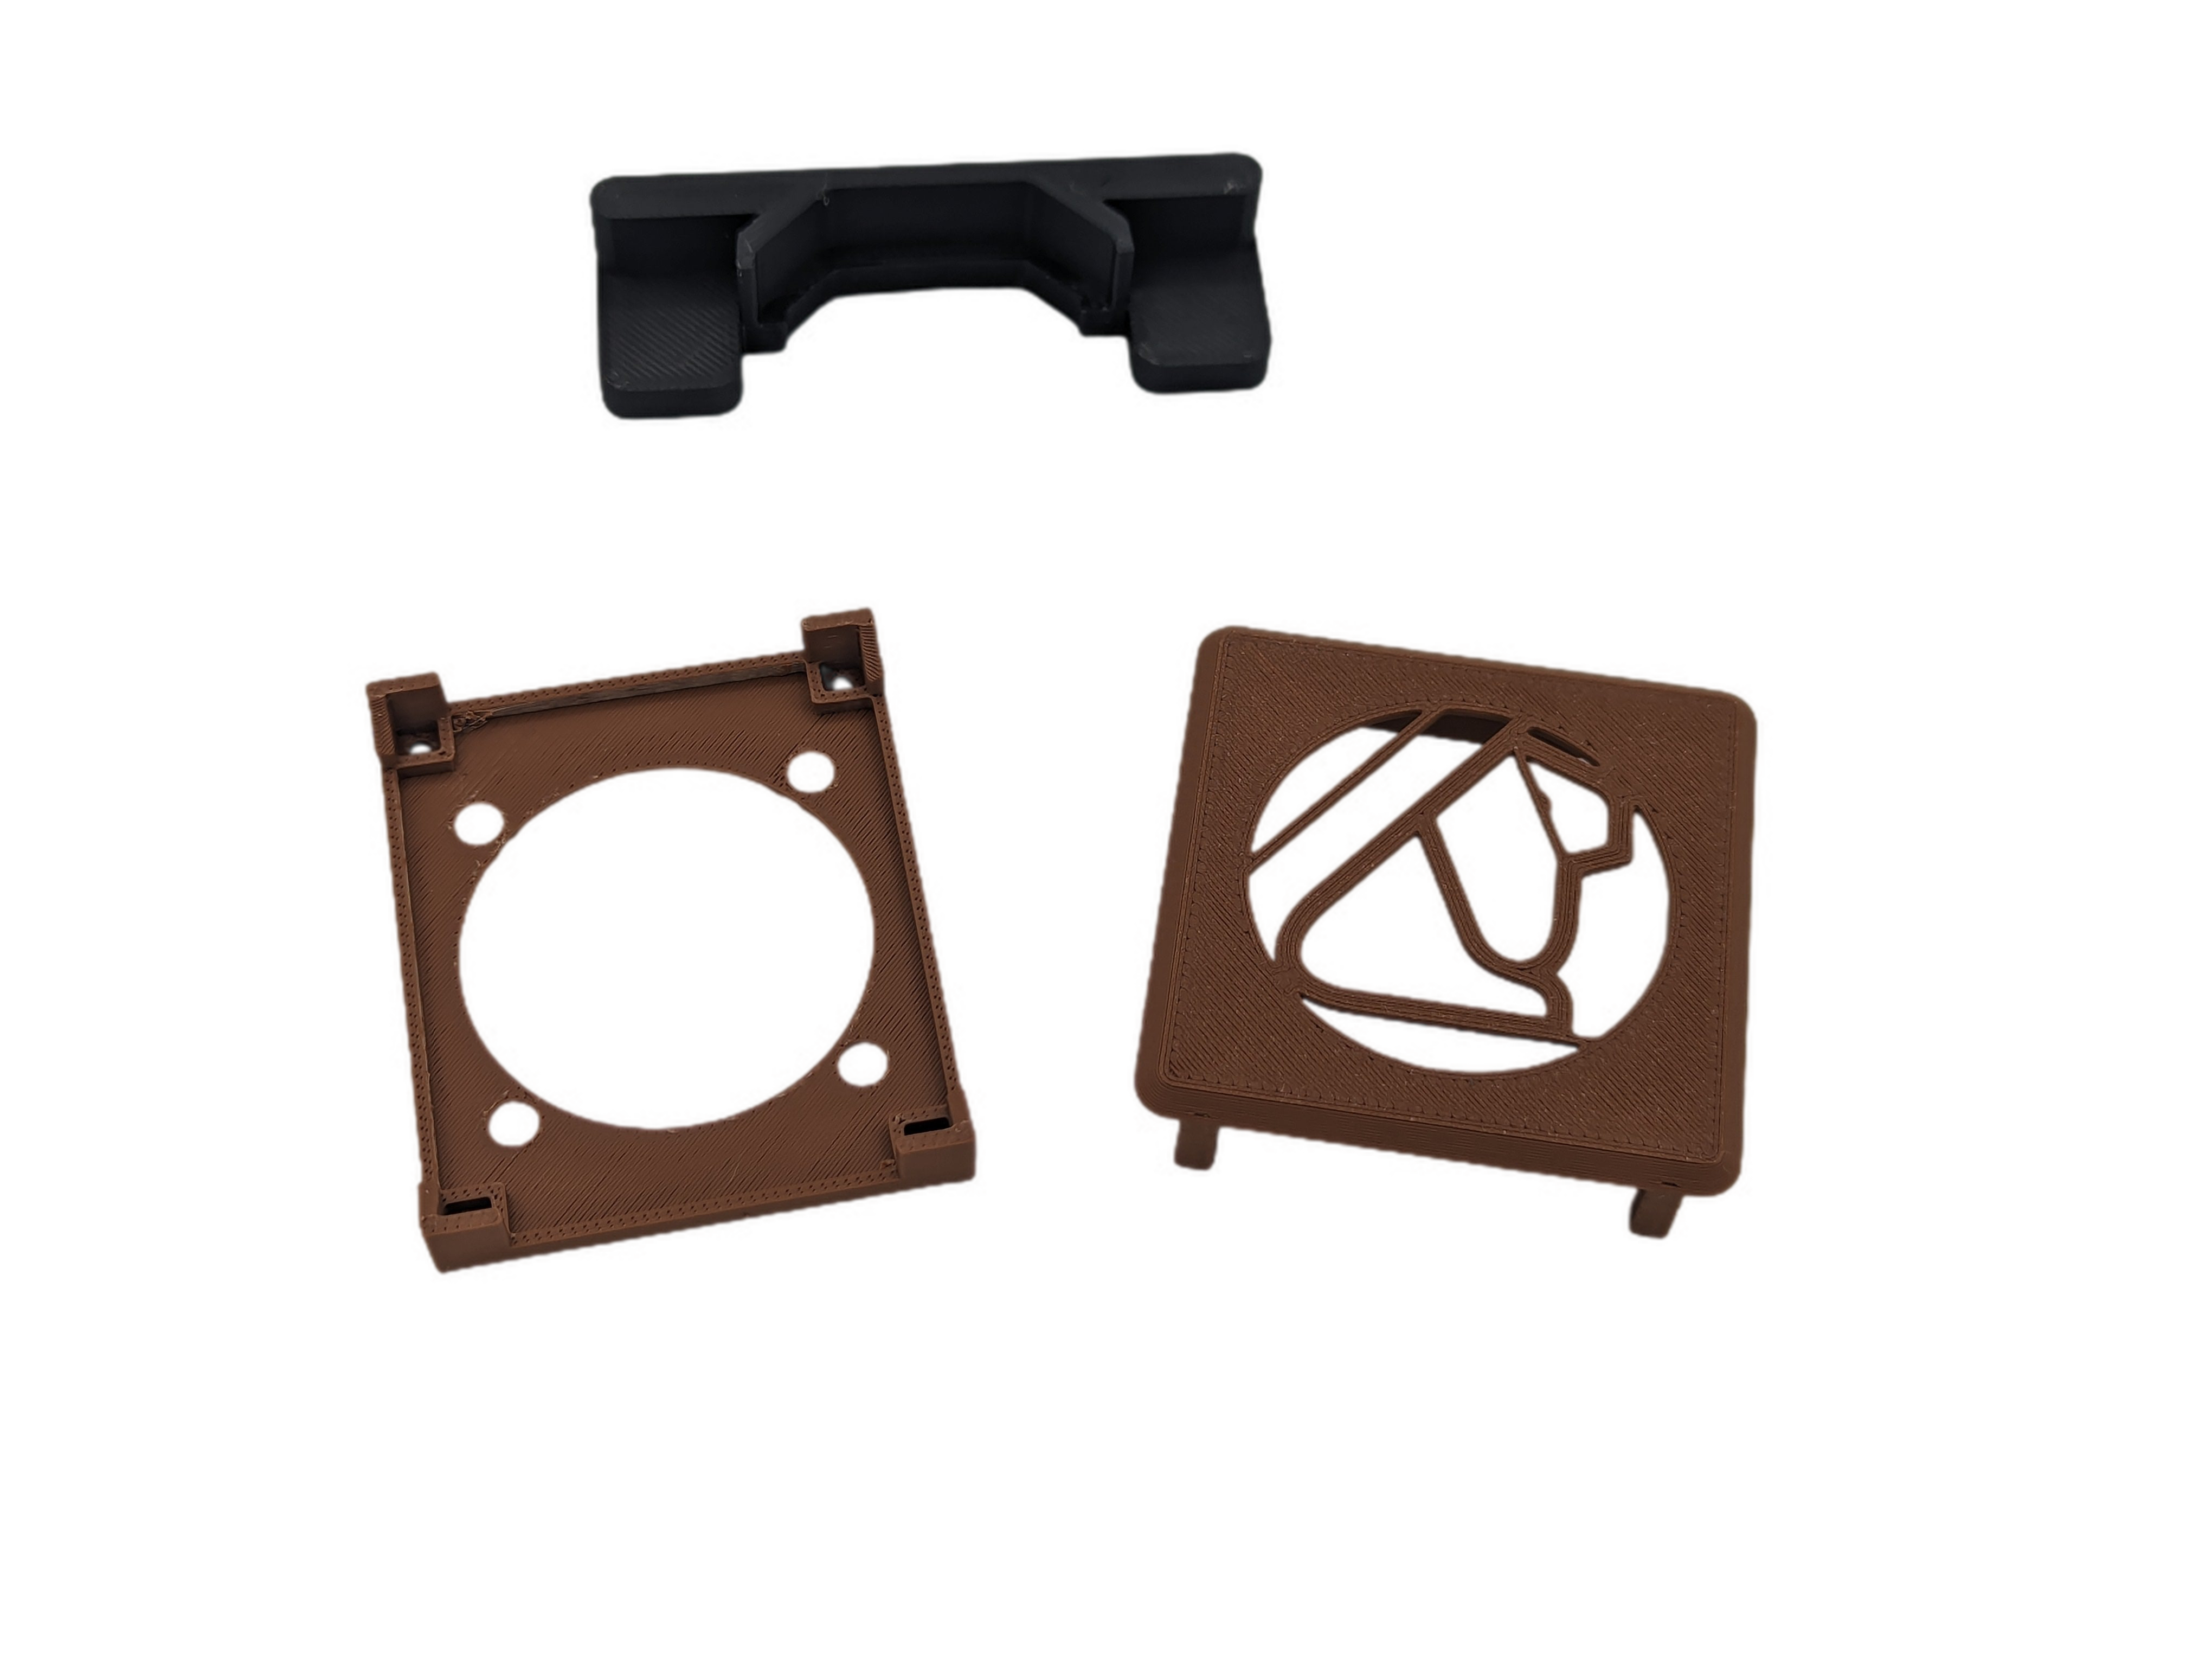
RetroTINK 4k Fan Mount Kit
Tax excluded. Shipping calculated at checkout
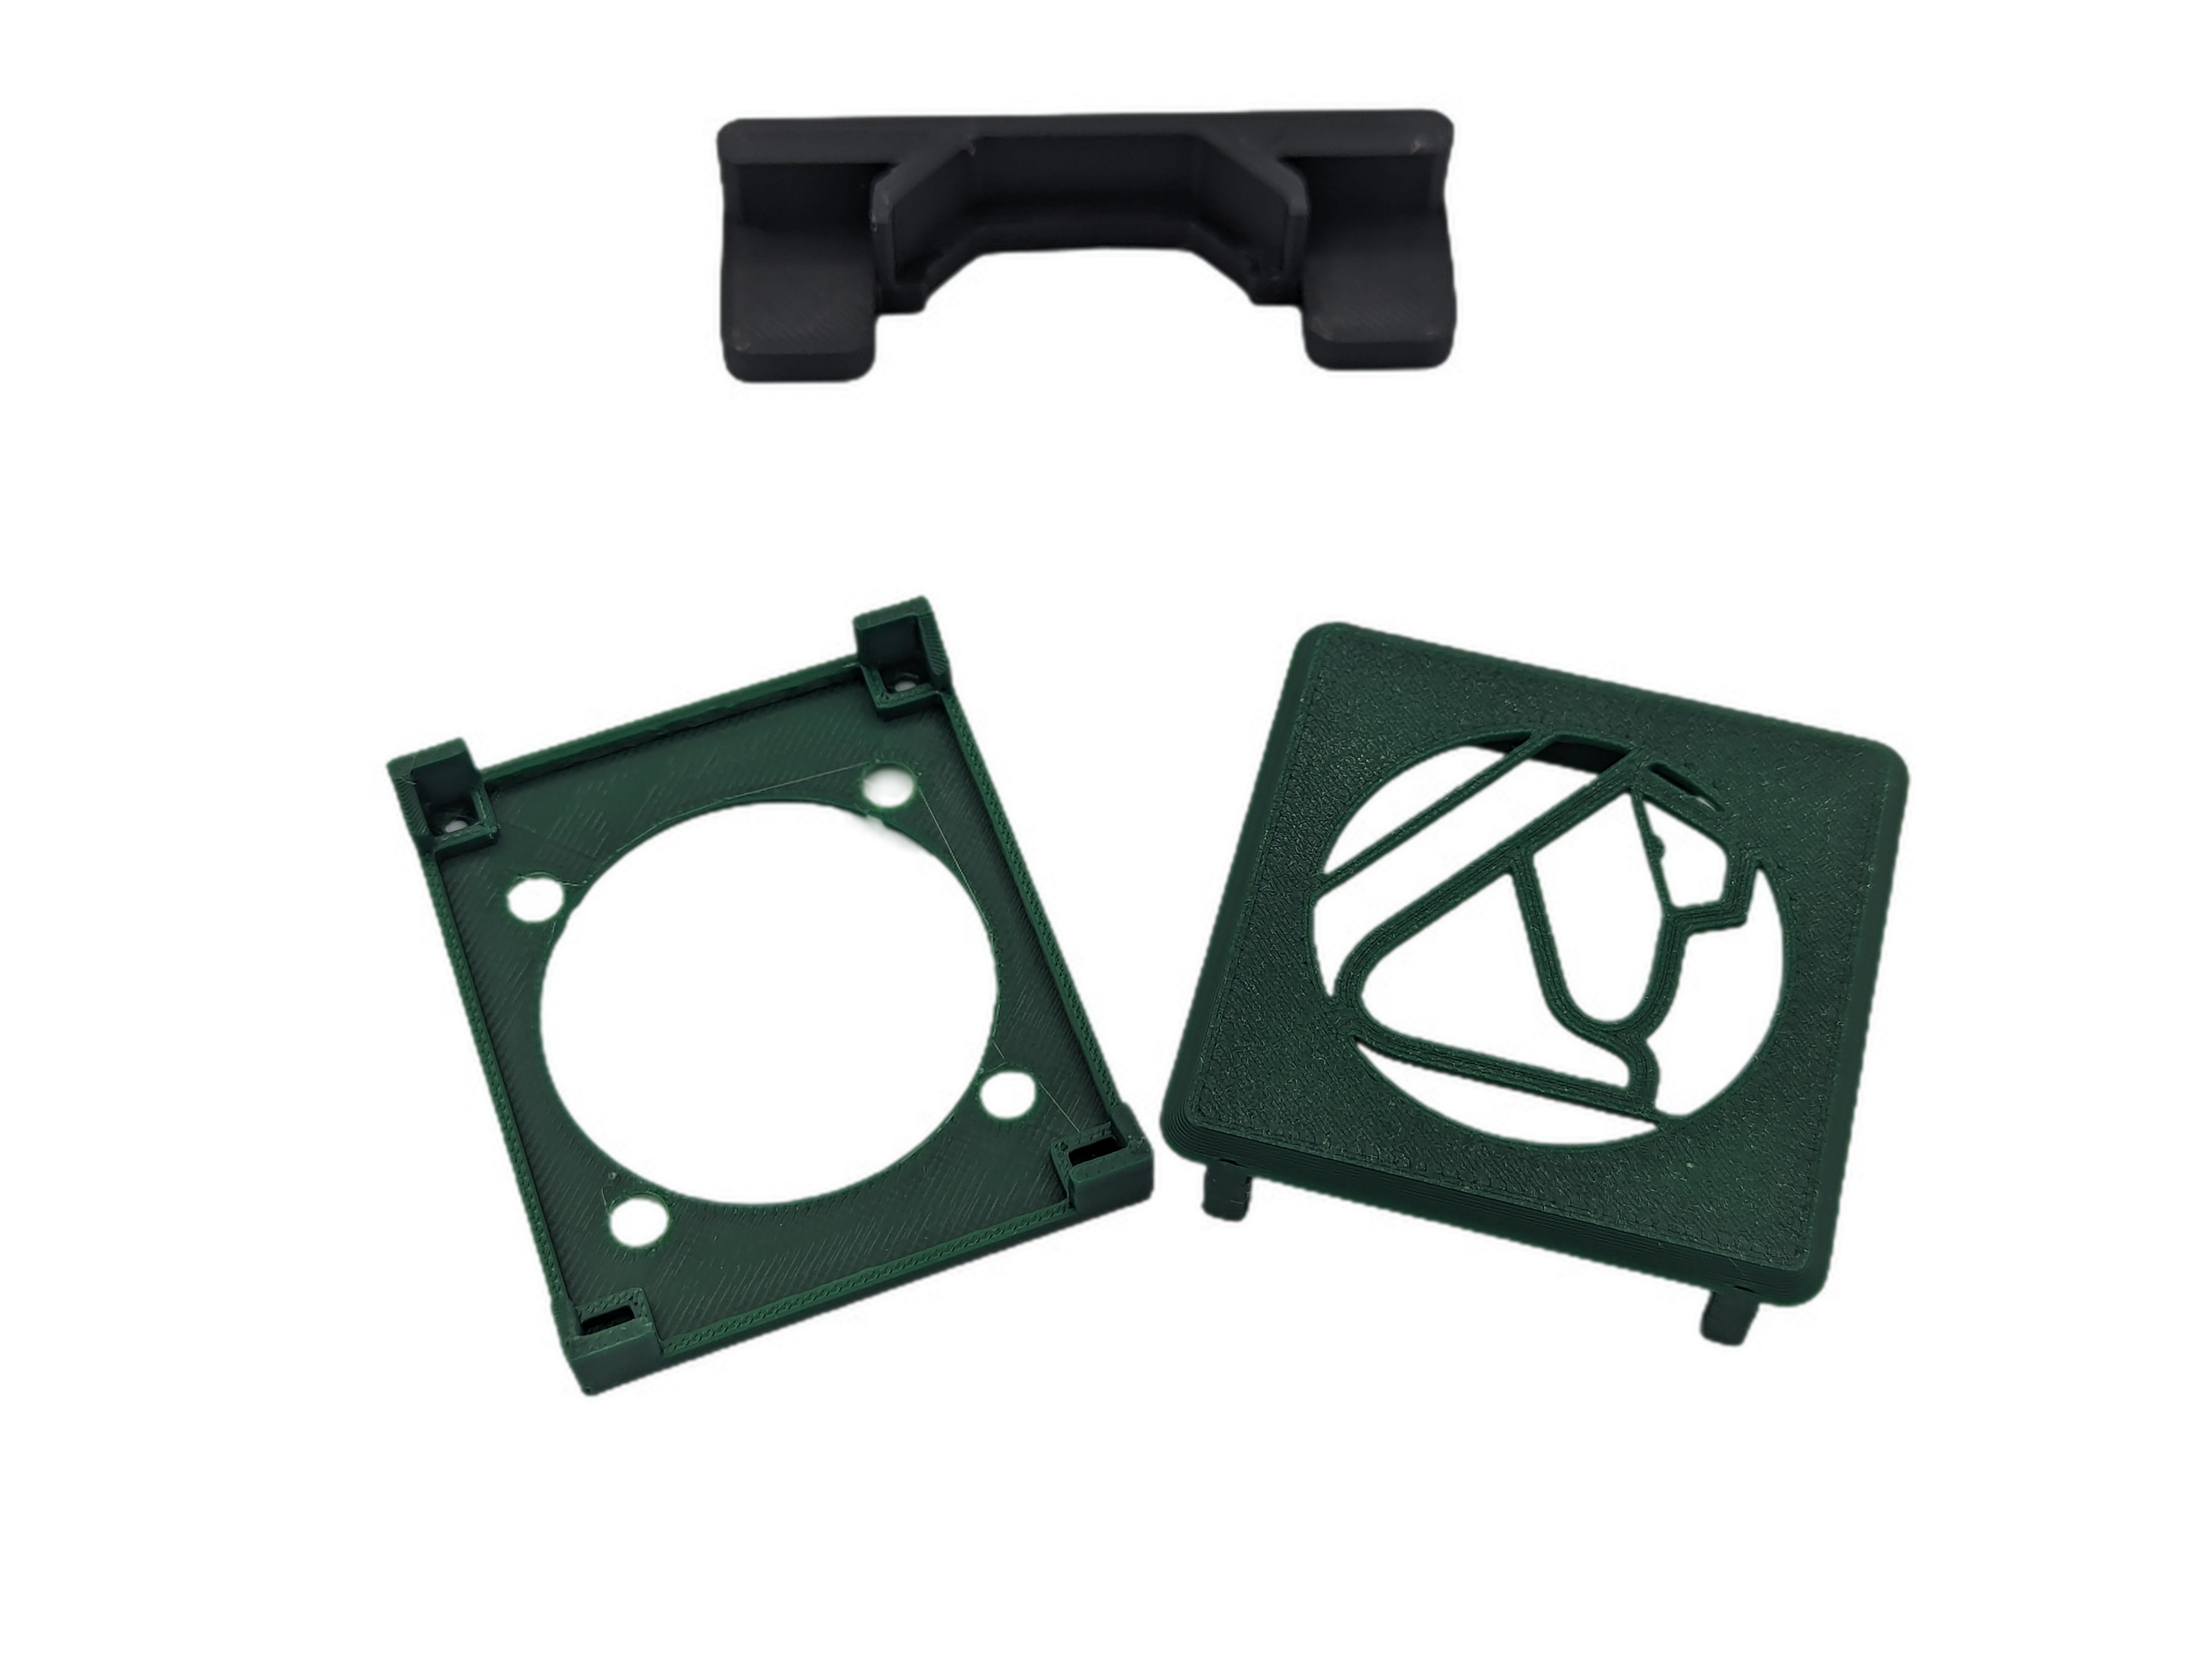
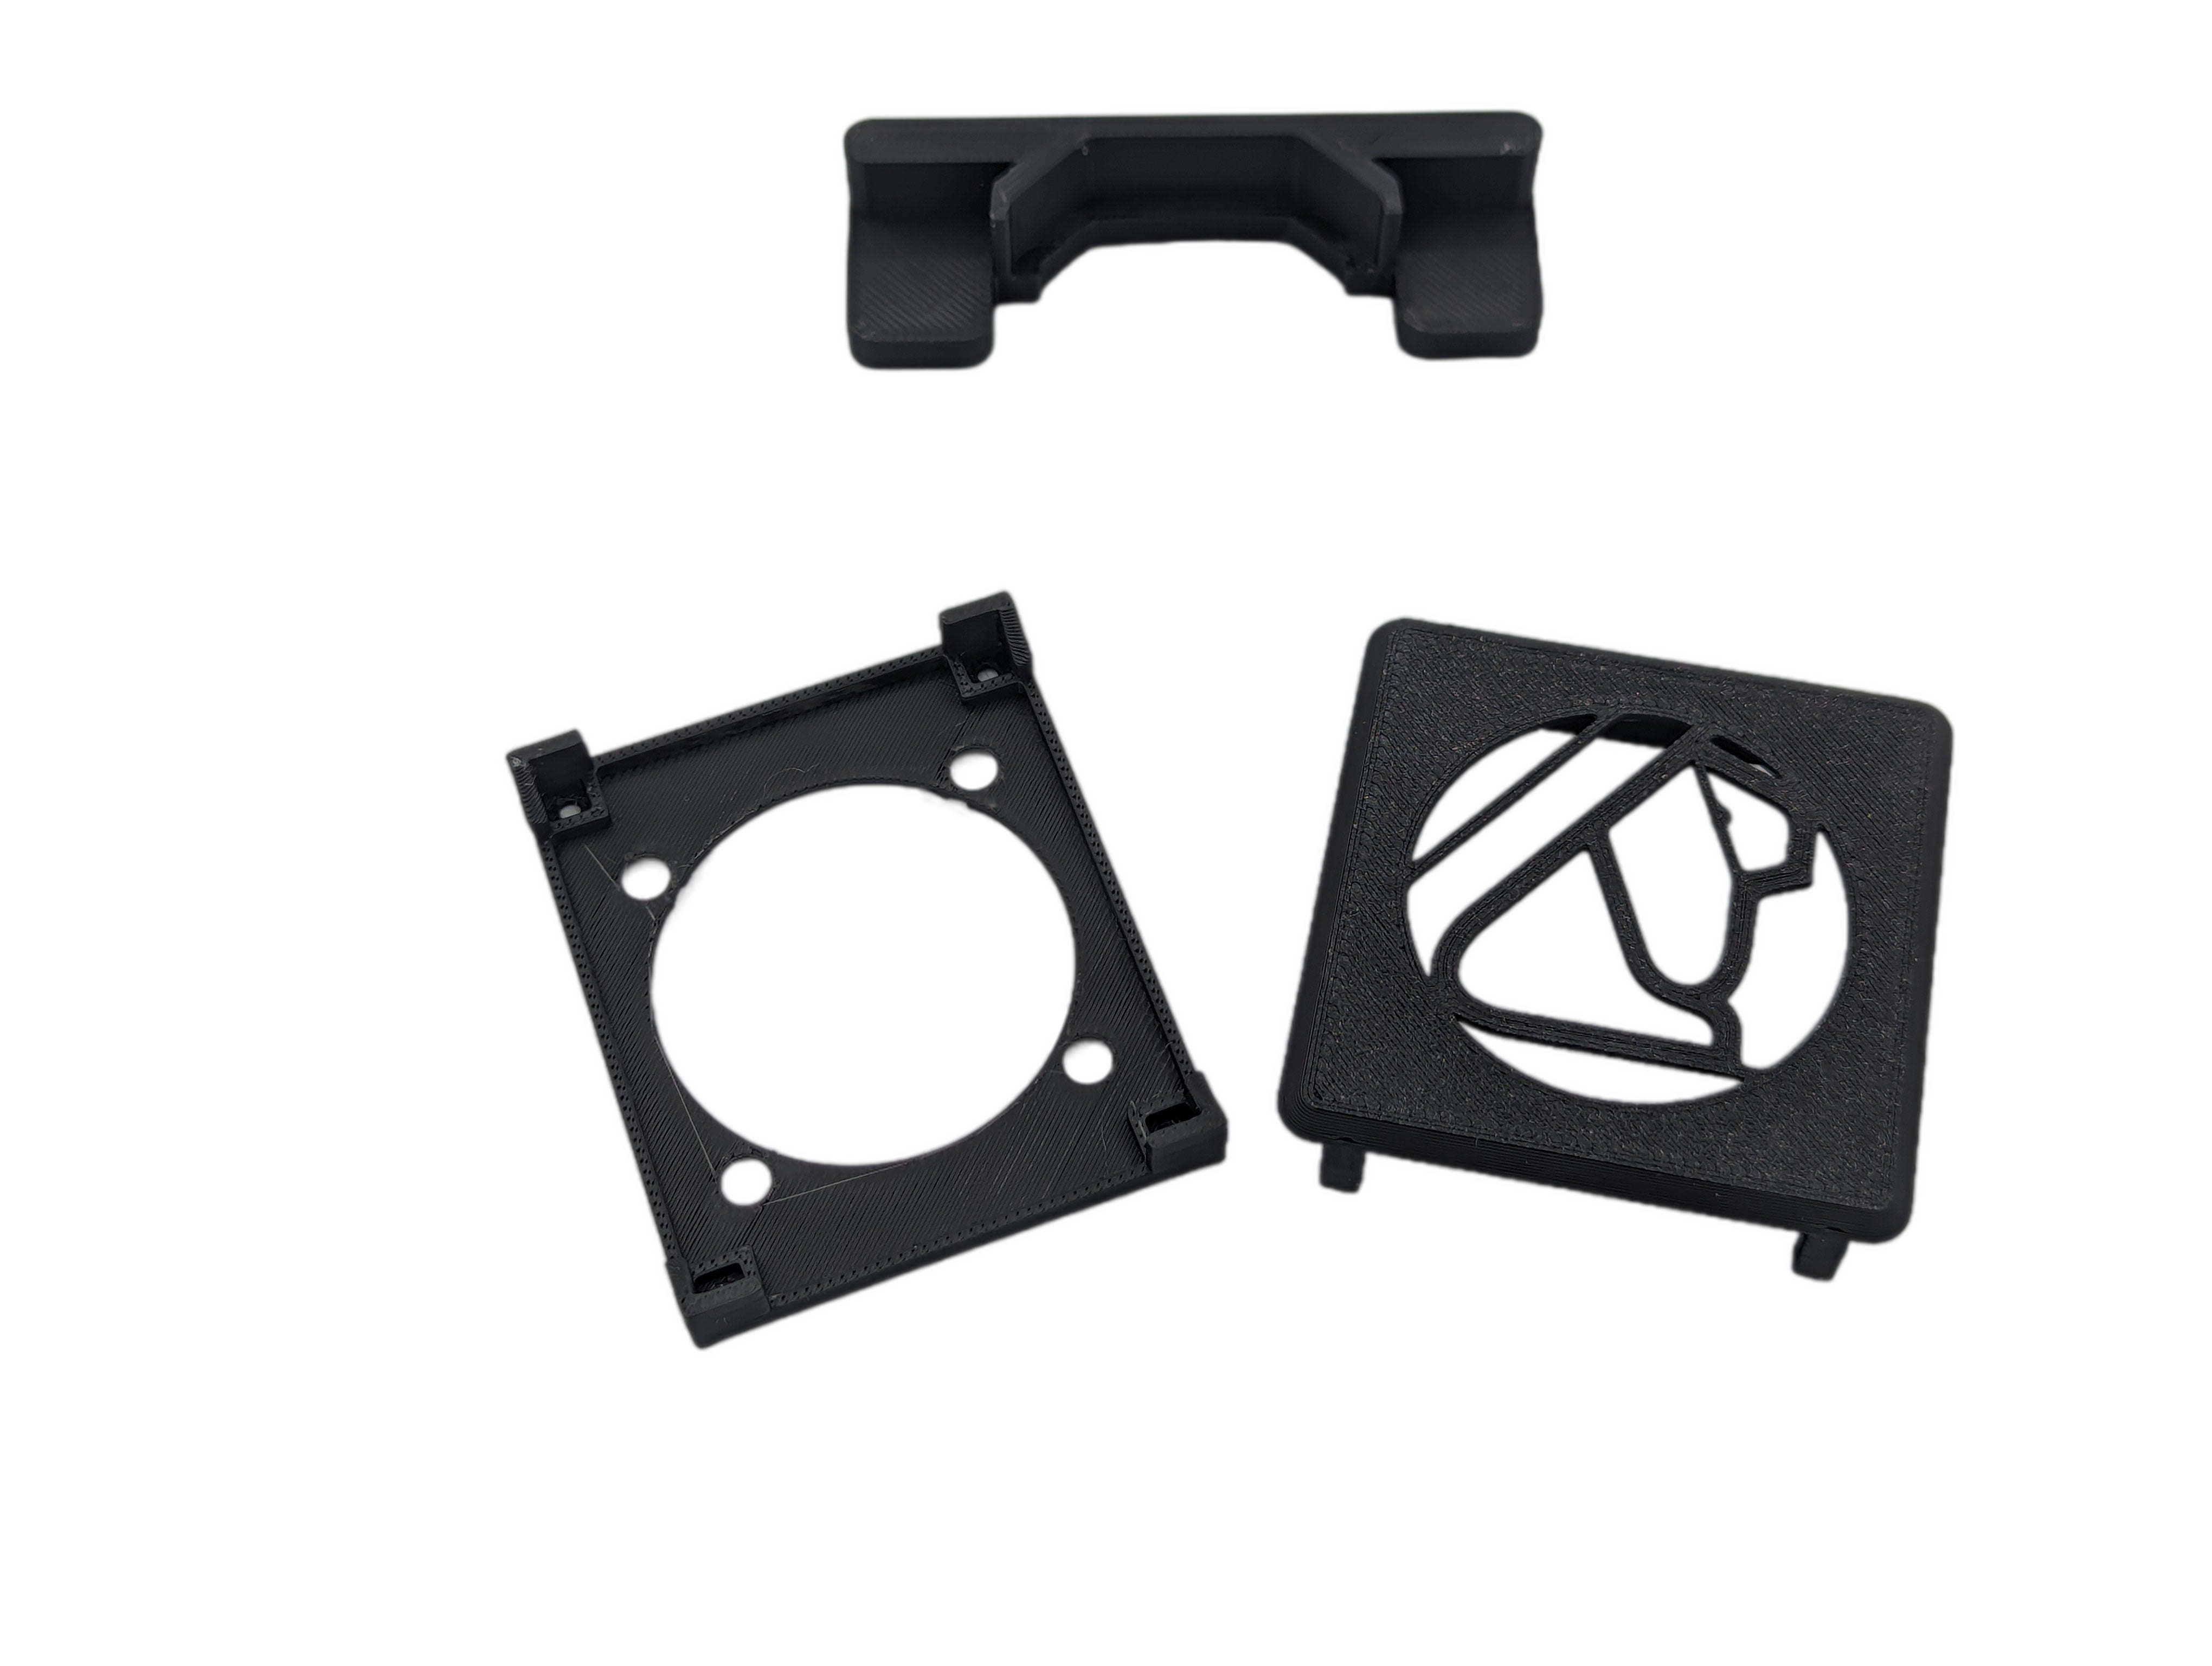
This kit is designed to install a Noctua NF-4Ax10 5v fan into the RetroTINK 4k video scaler.
Why might you want a fan in your RetroTINK 4k?
If you are going to place it someplace with out good airflow like inside of a cabinet, in a retro cart, pressed up against a wall, or really anywhere that heat will build up.
This is not a simple mod to do, it requires soldering, and requires disassembly of the scaler.
The hardest part of this mod is taking the RetroTINK 4k apart.
This is not for the faint of heart, you will likely damage rear port labels in the process.
Step 1:
Remove the SD Card. Do not skip this step! It WILL break the port if you do not remove the SD card!
Step 2:
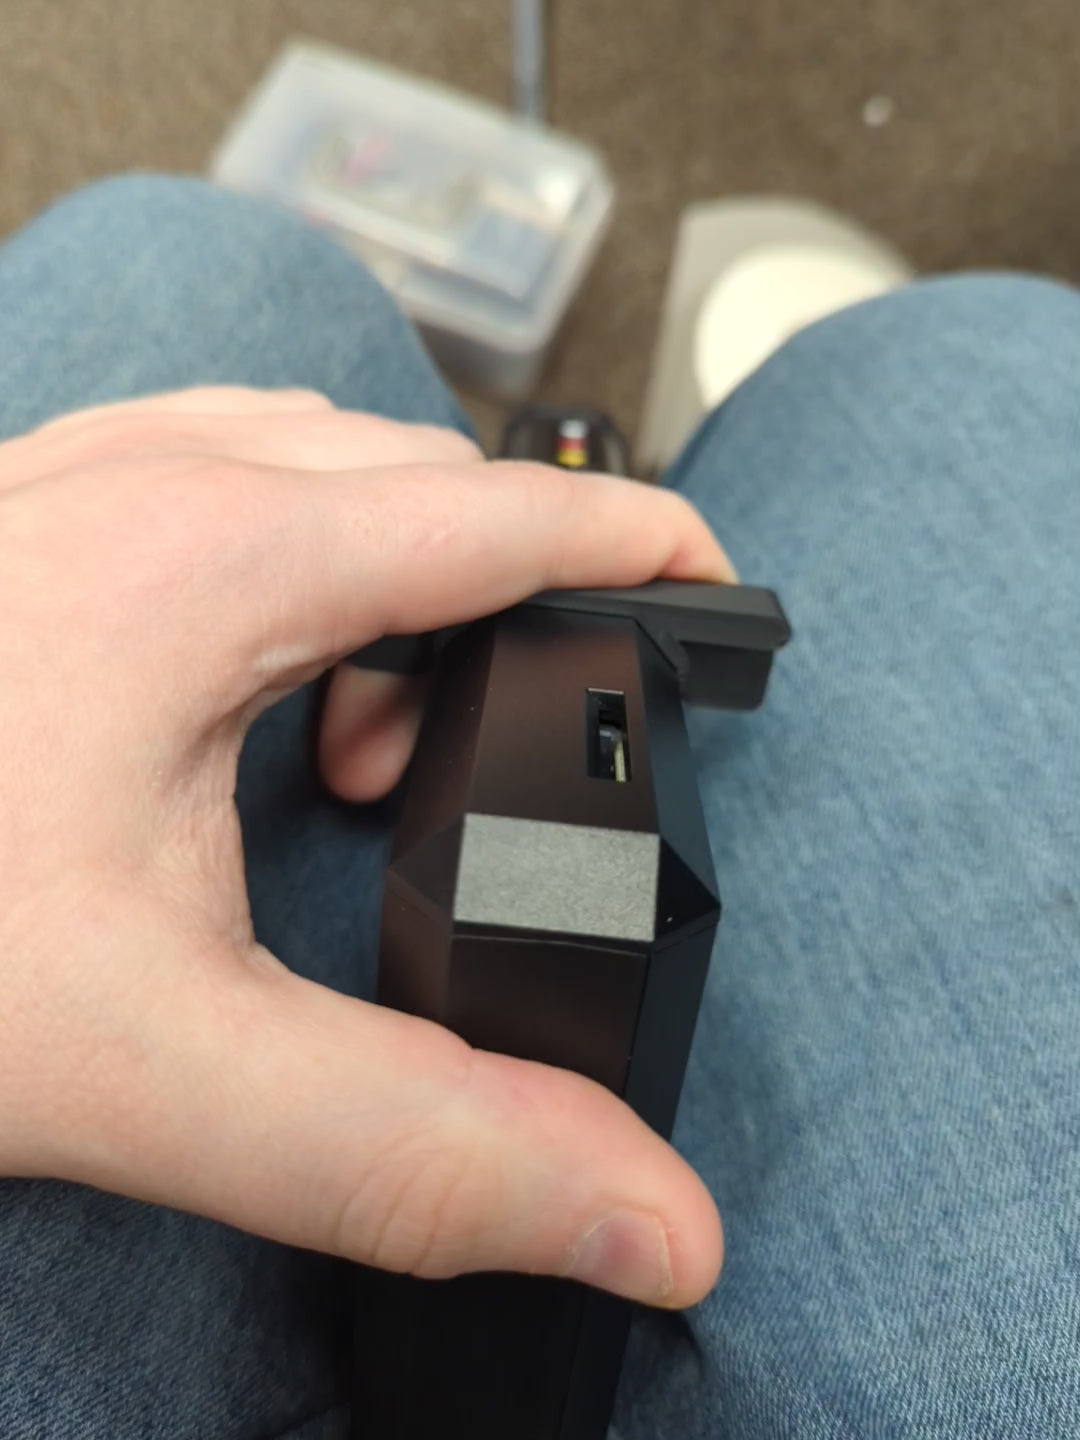
Remove the cover over the SD Card Slot, this takes considerable force to remove. I used a pressure clamp to grab the edge of the cover and gently force the cover off. Included in the kit is a tool to aid in this, you can use it with a clamp, or with you hands if you are able to.
Step 3:
Slide off the cover for the front AV port
Step 4:
Remove the bottom screws
Step 5:
Gently lift the top shell and angle it towards the SCART connector, and pull the label off the back keeping it attached to either top or bottom shell.
Congrats you now have the RetroTINK 4k open.
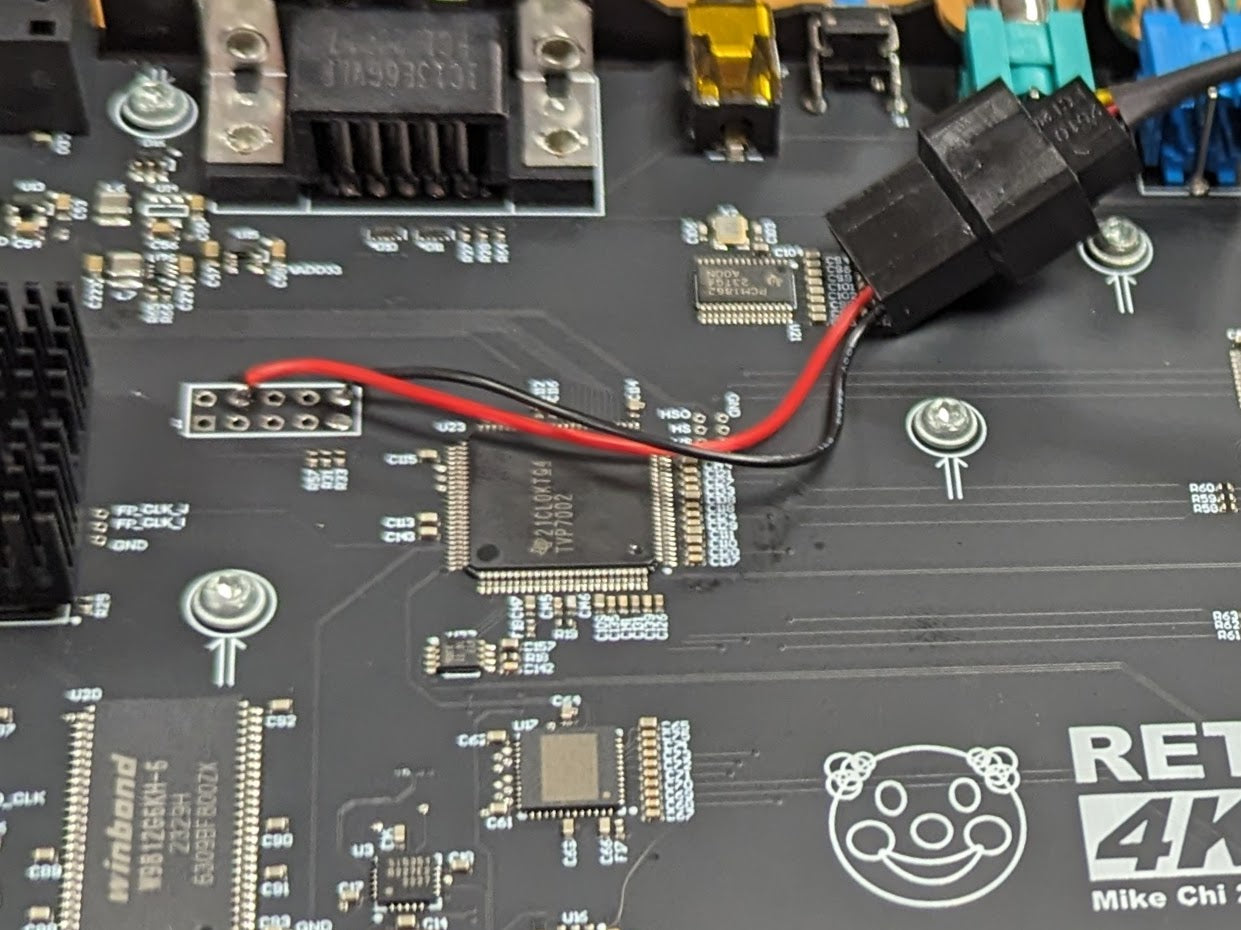
The suggested Noctua NF-A4x10 5v comes with an adapter with two wires hanging off of it. We will use this to attach the fan to the inside of the 4k
You will need to solder the fan connector to the JTAG connector
See the picture in this post for safe connection points.
Next is to pop out the original emblem from the top, there are 4 tabs that need to be levered away to remove the top emblem
The new cover with openings for the airflow can be installed into the top with the 4 posts fit through inside of the shell.
Mount the fan to the bottom plate using the screws included with the fan.
I point the fan up to keep dust from accumulating inside of the shell. There are arrows on the side of the fan that show which way the air will move.
Then attach the bottom plate to the standoff from the top using the included 4 screws.
Plug the fan into the header and reverse the steps to reassemble your RetroTINK 4k
**NOTE: this is a modification TO the RetroTINK 4k and the kit contains only covers, a tool and screws. You must provide the RetroTINK 4k and fan yourself (we do sell the Noctua NF-A4x10 5v)

