
MODE Saturn Mount Kit
Tax excluded. Shipping calculated at checkout
MODE Saturn Mount Kit
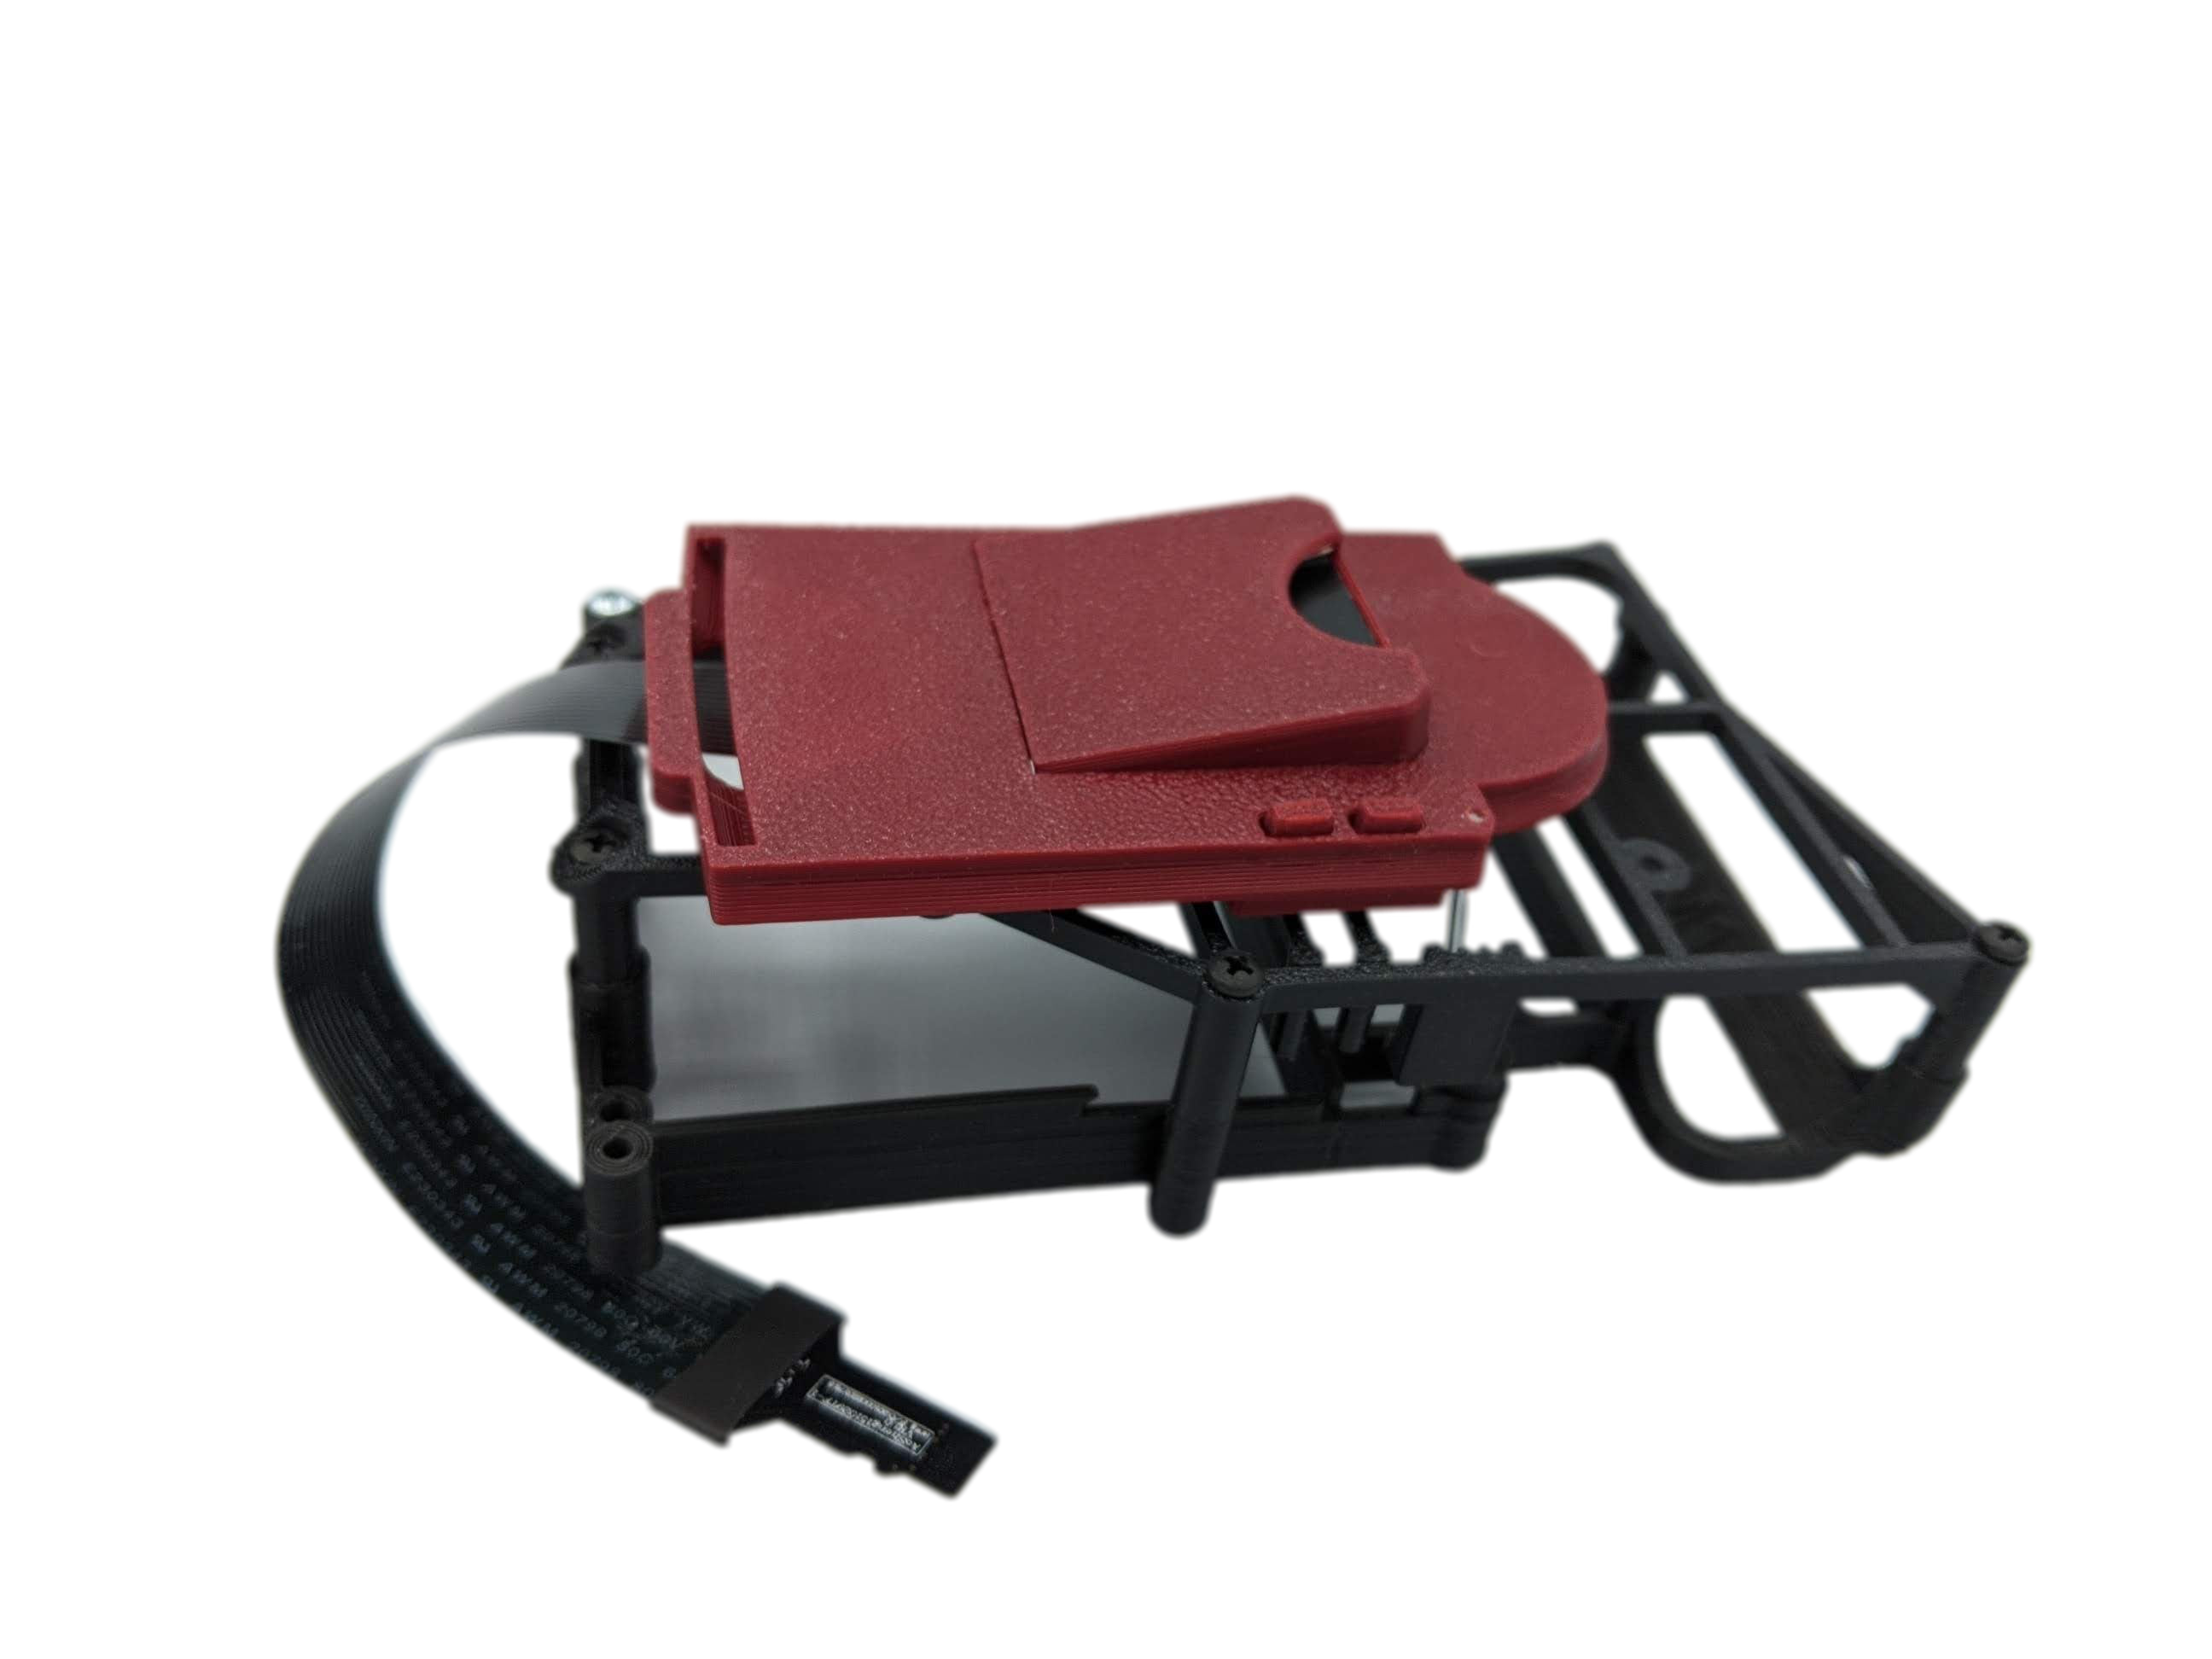
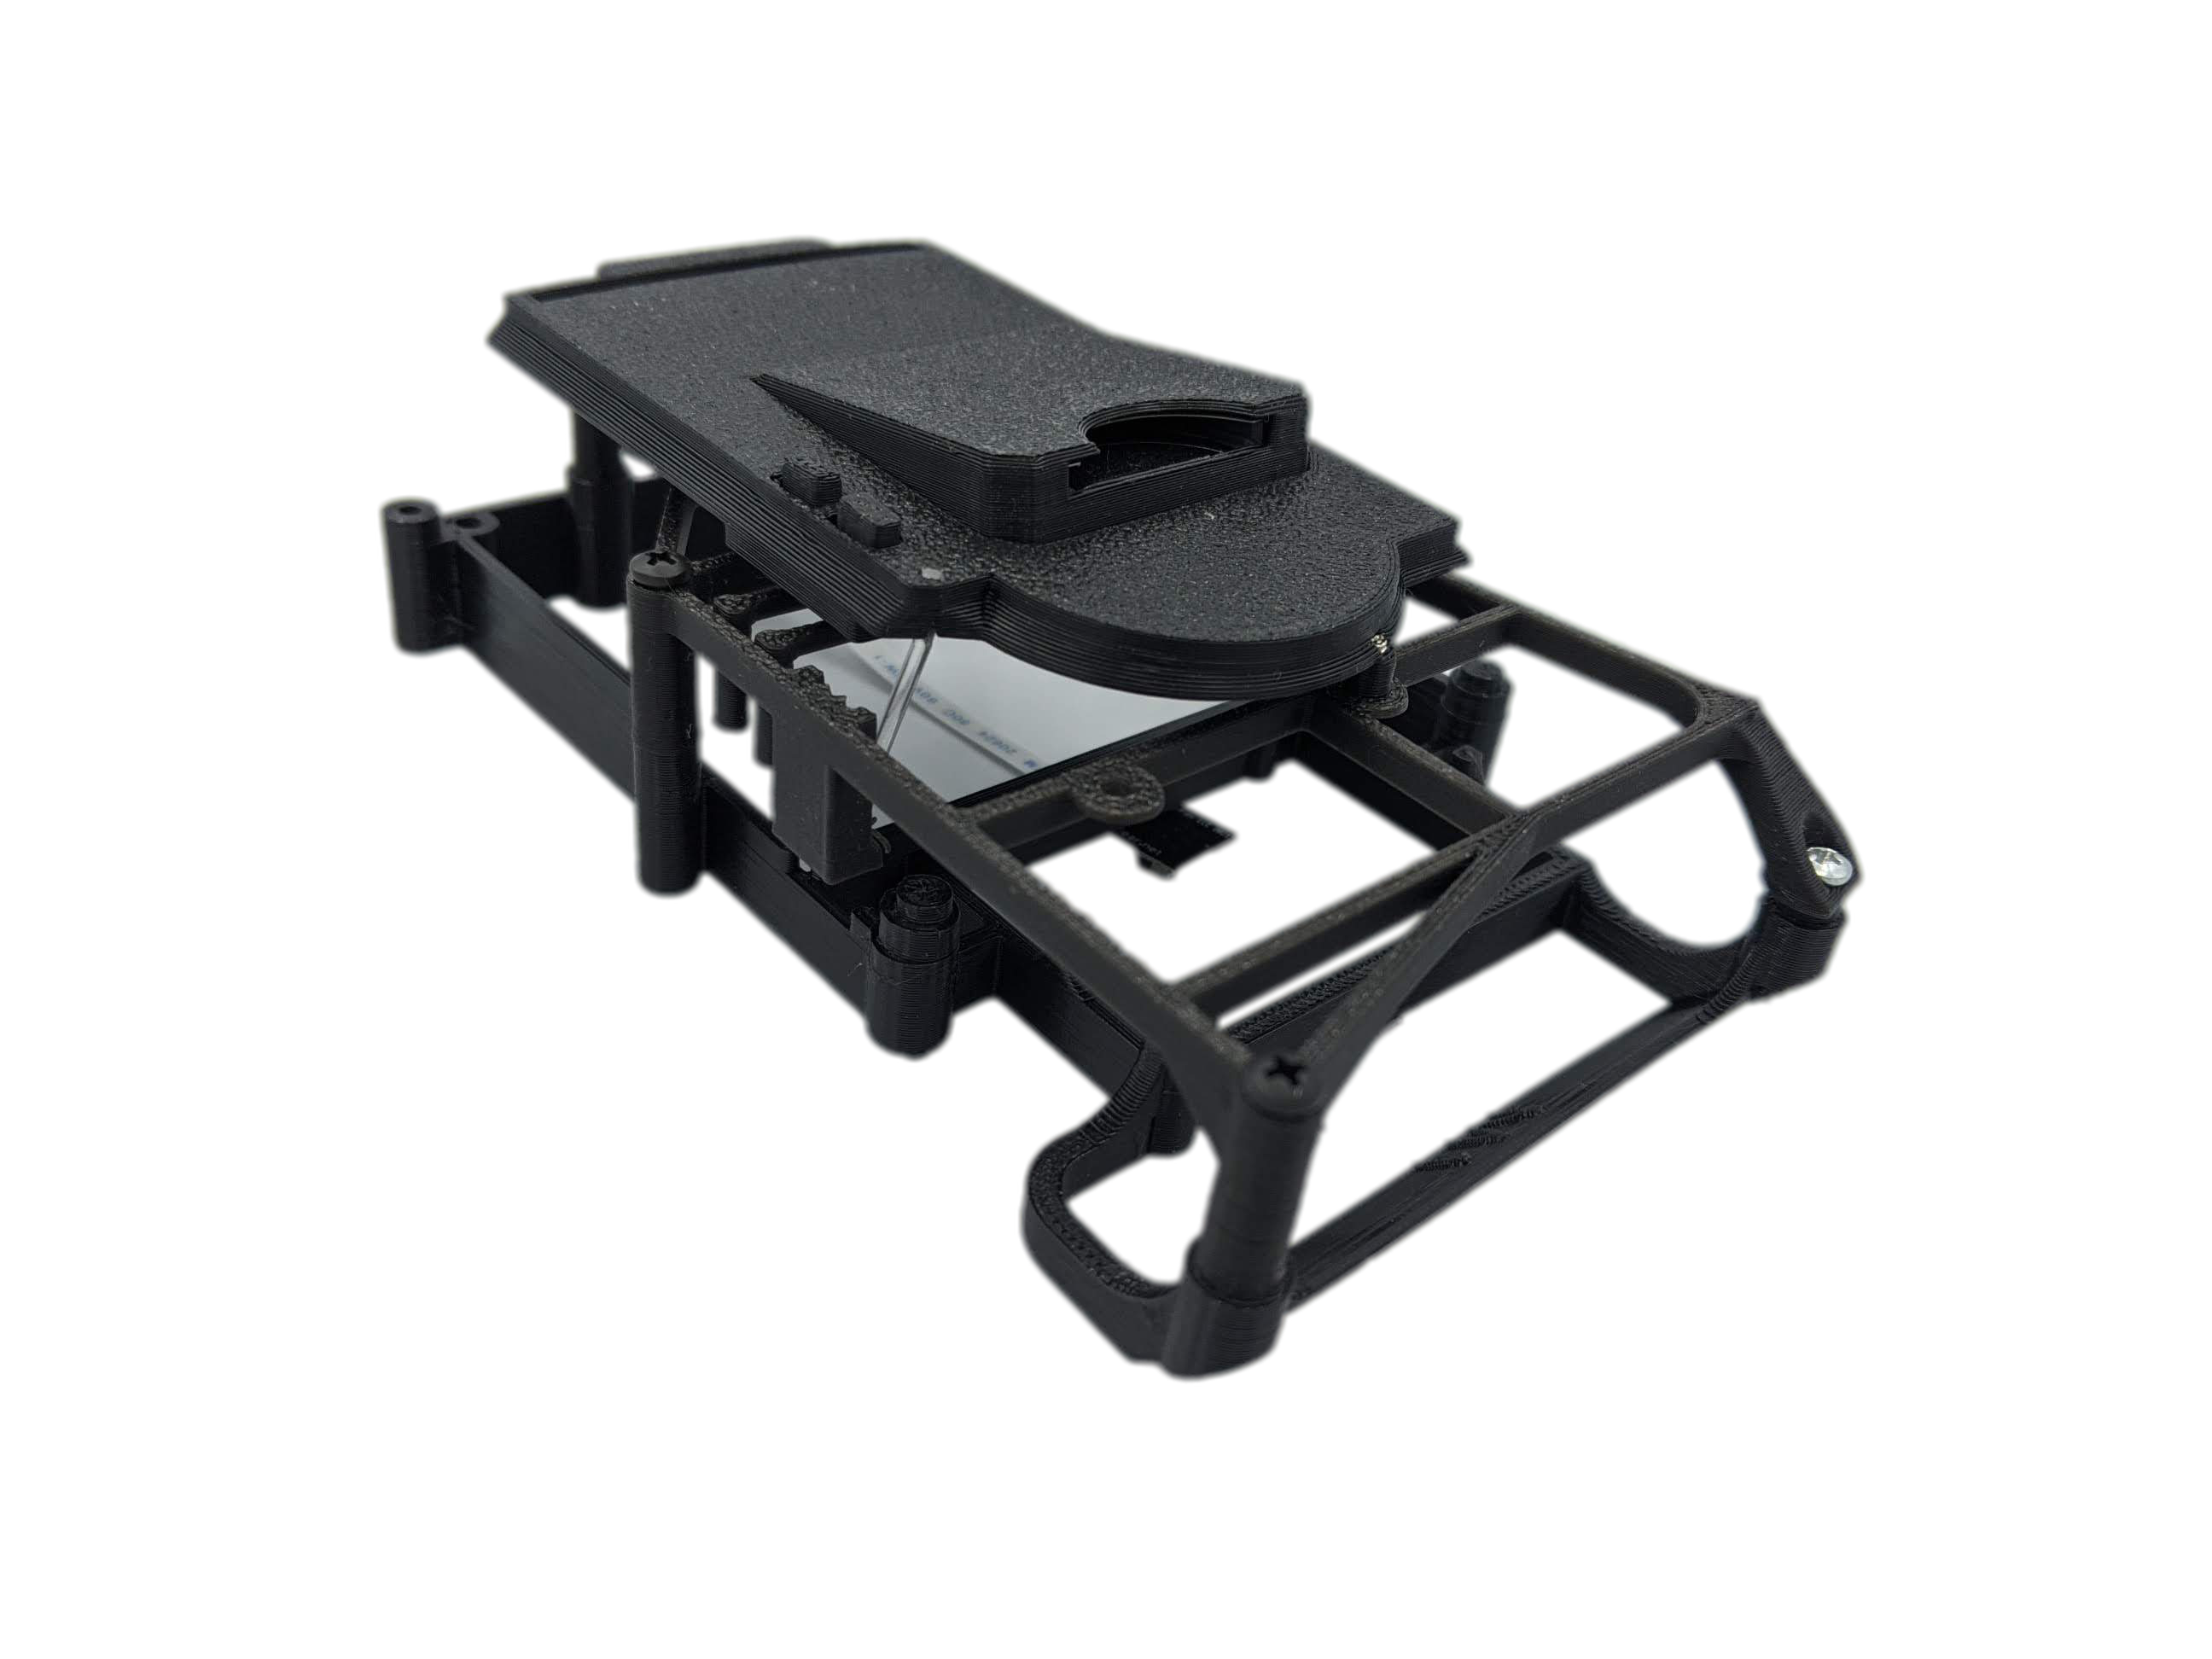
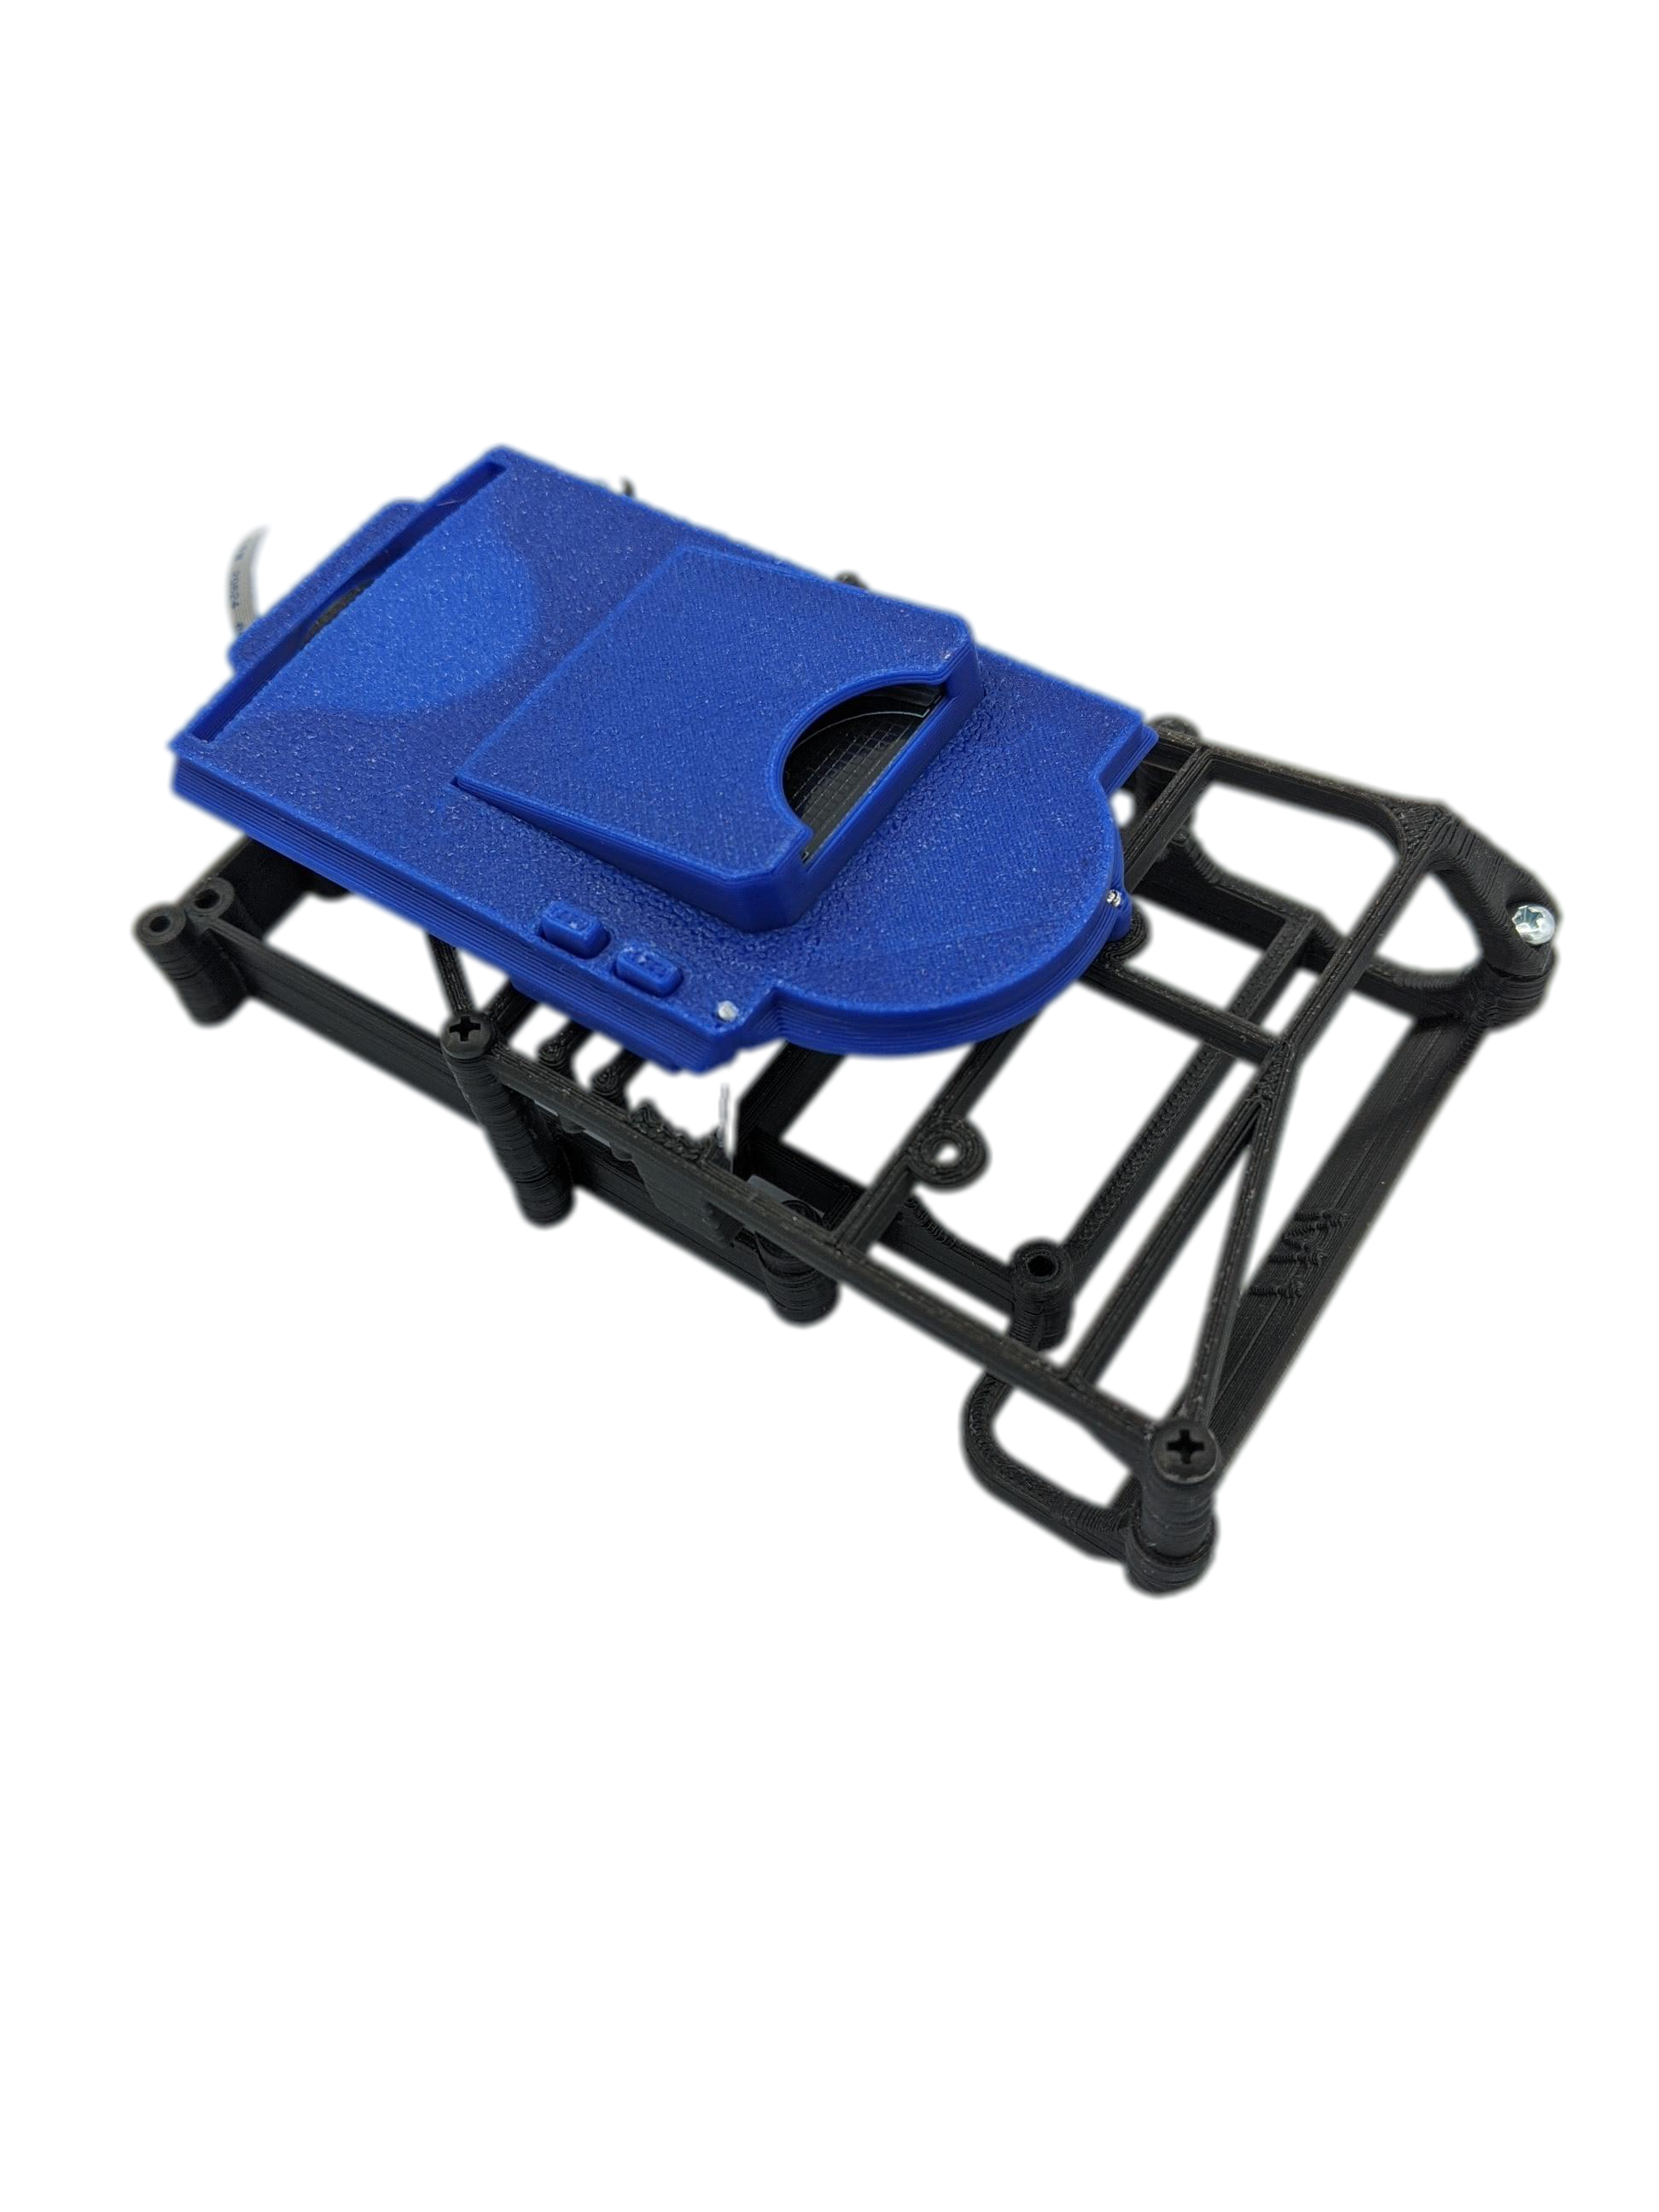
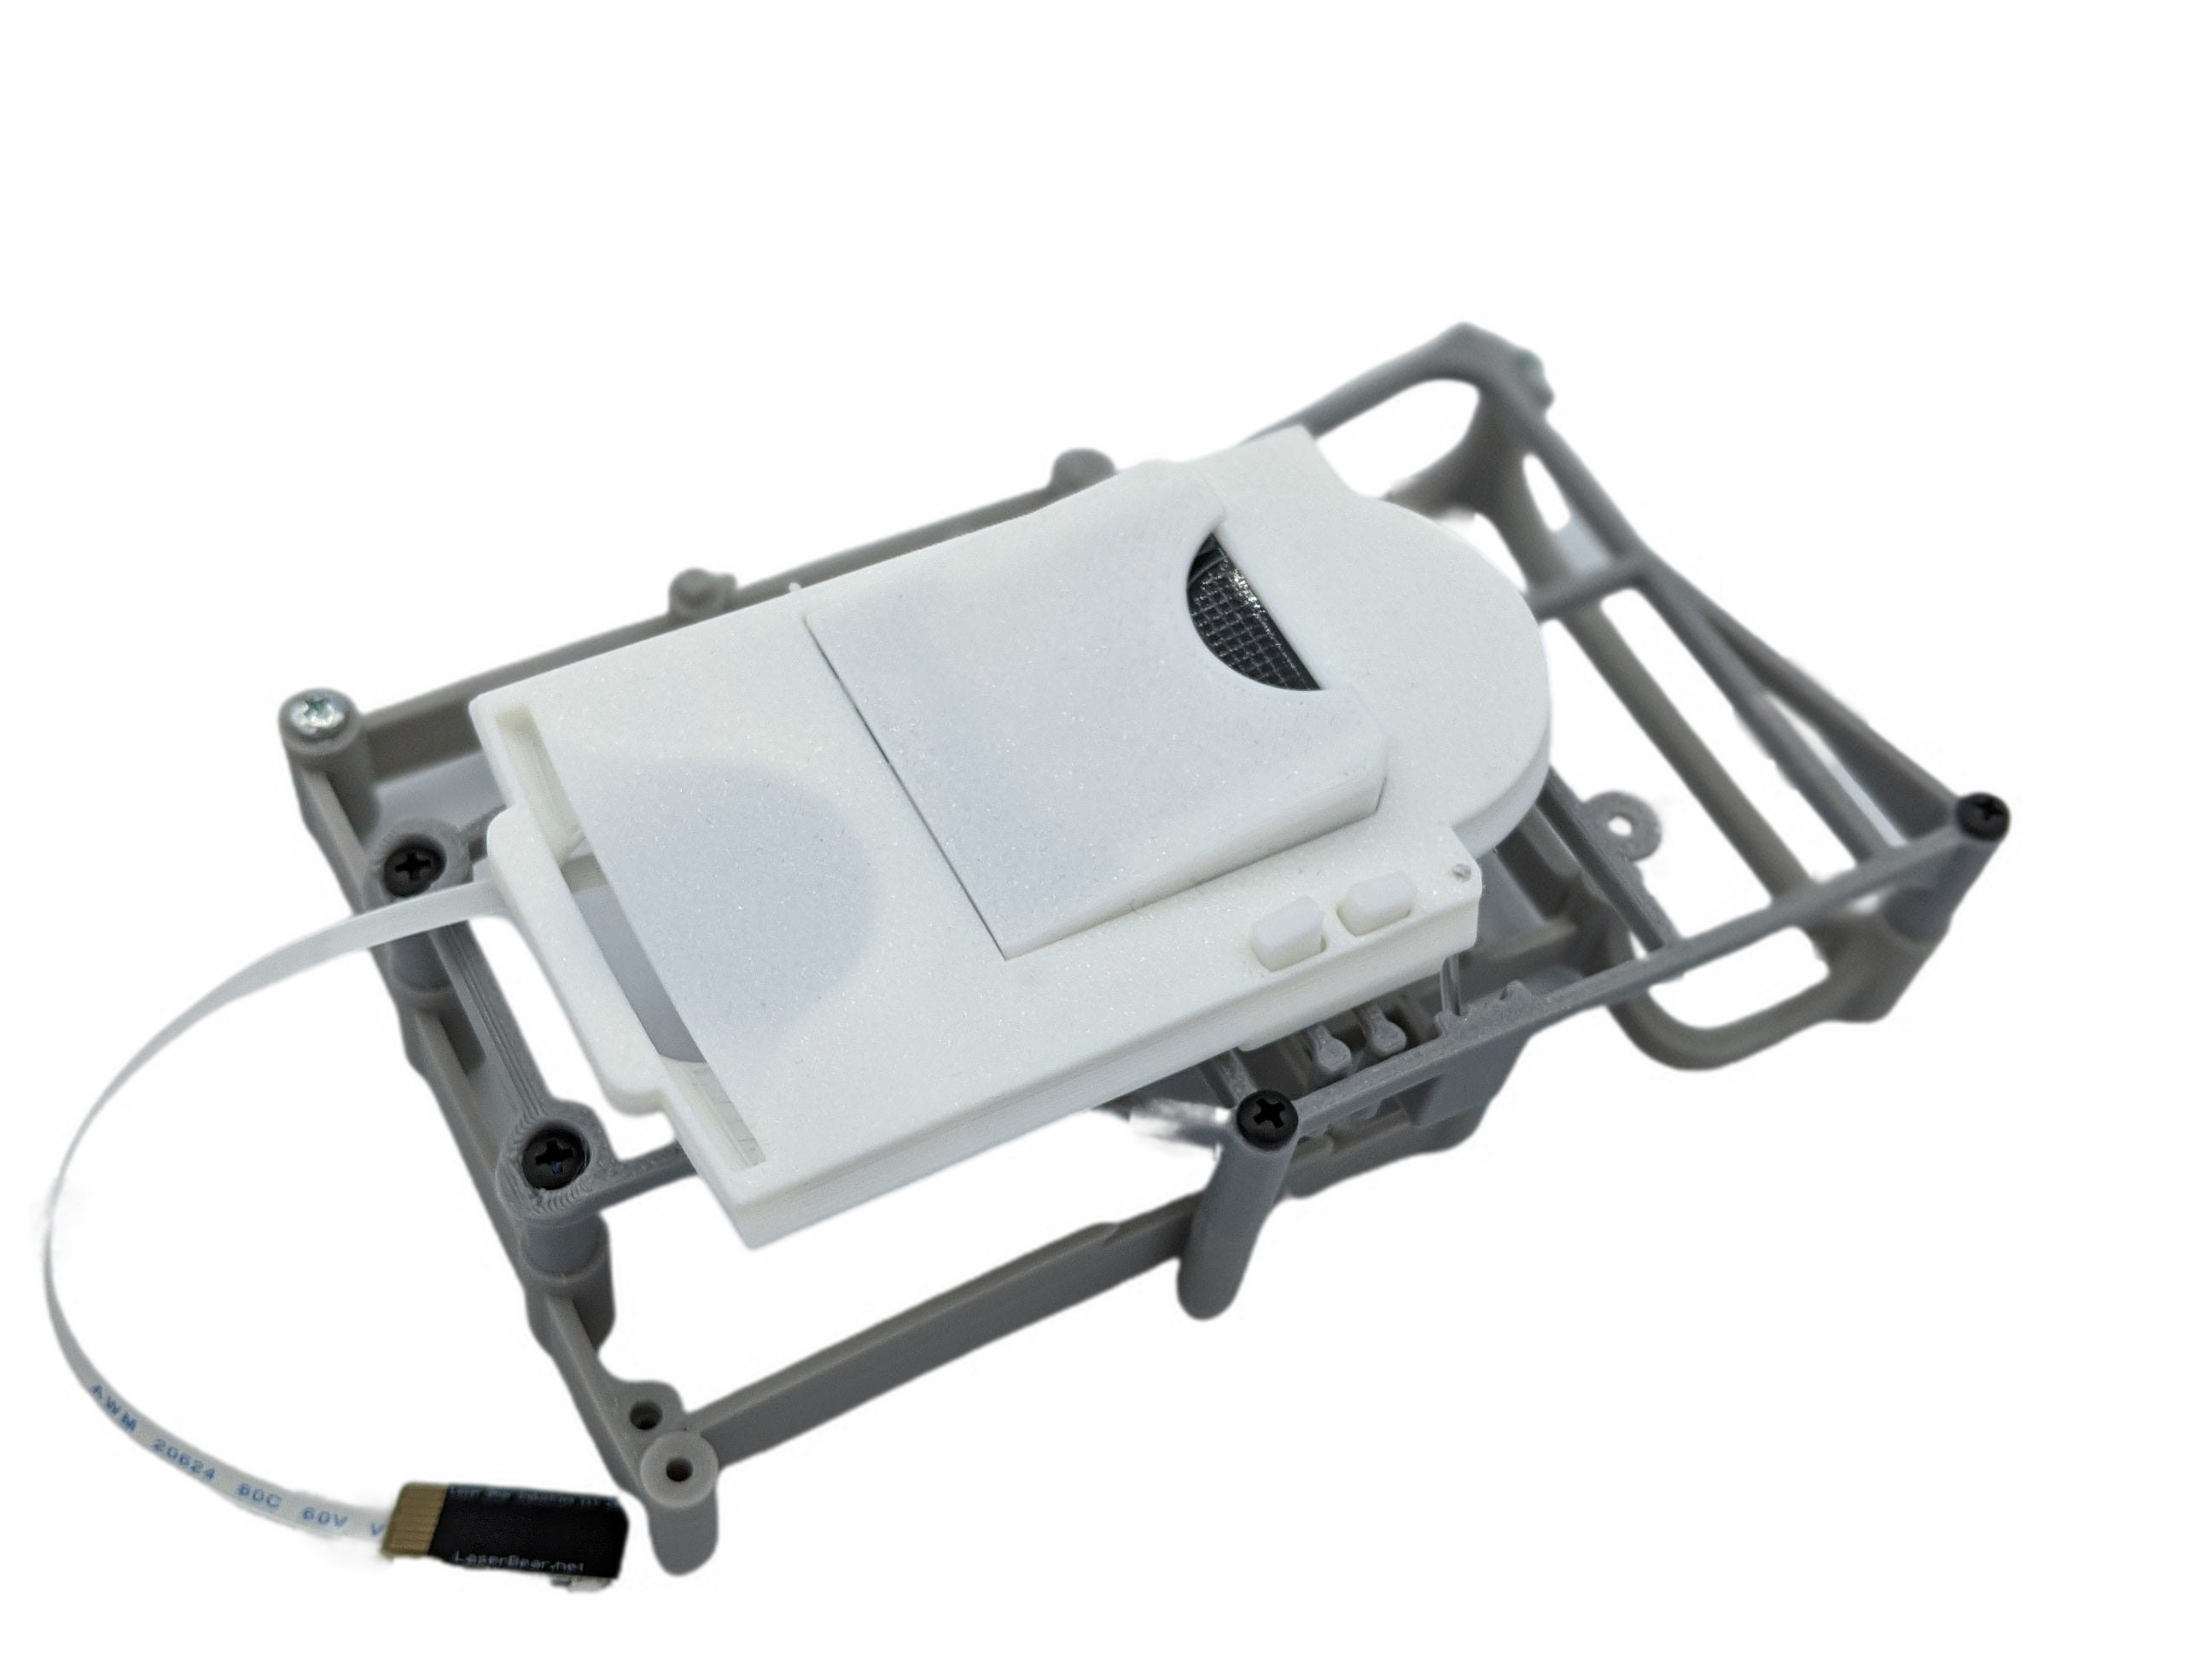
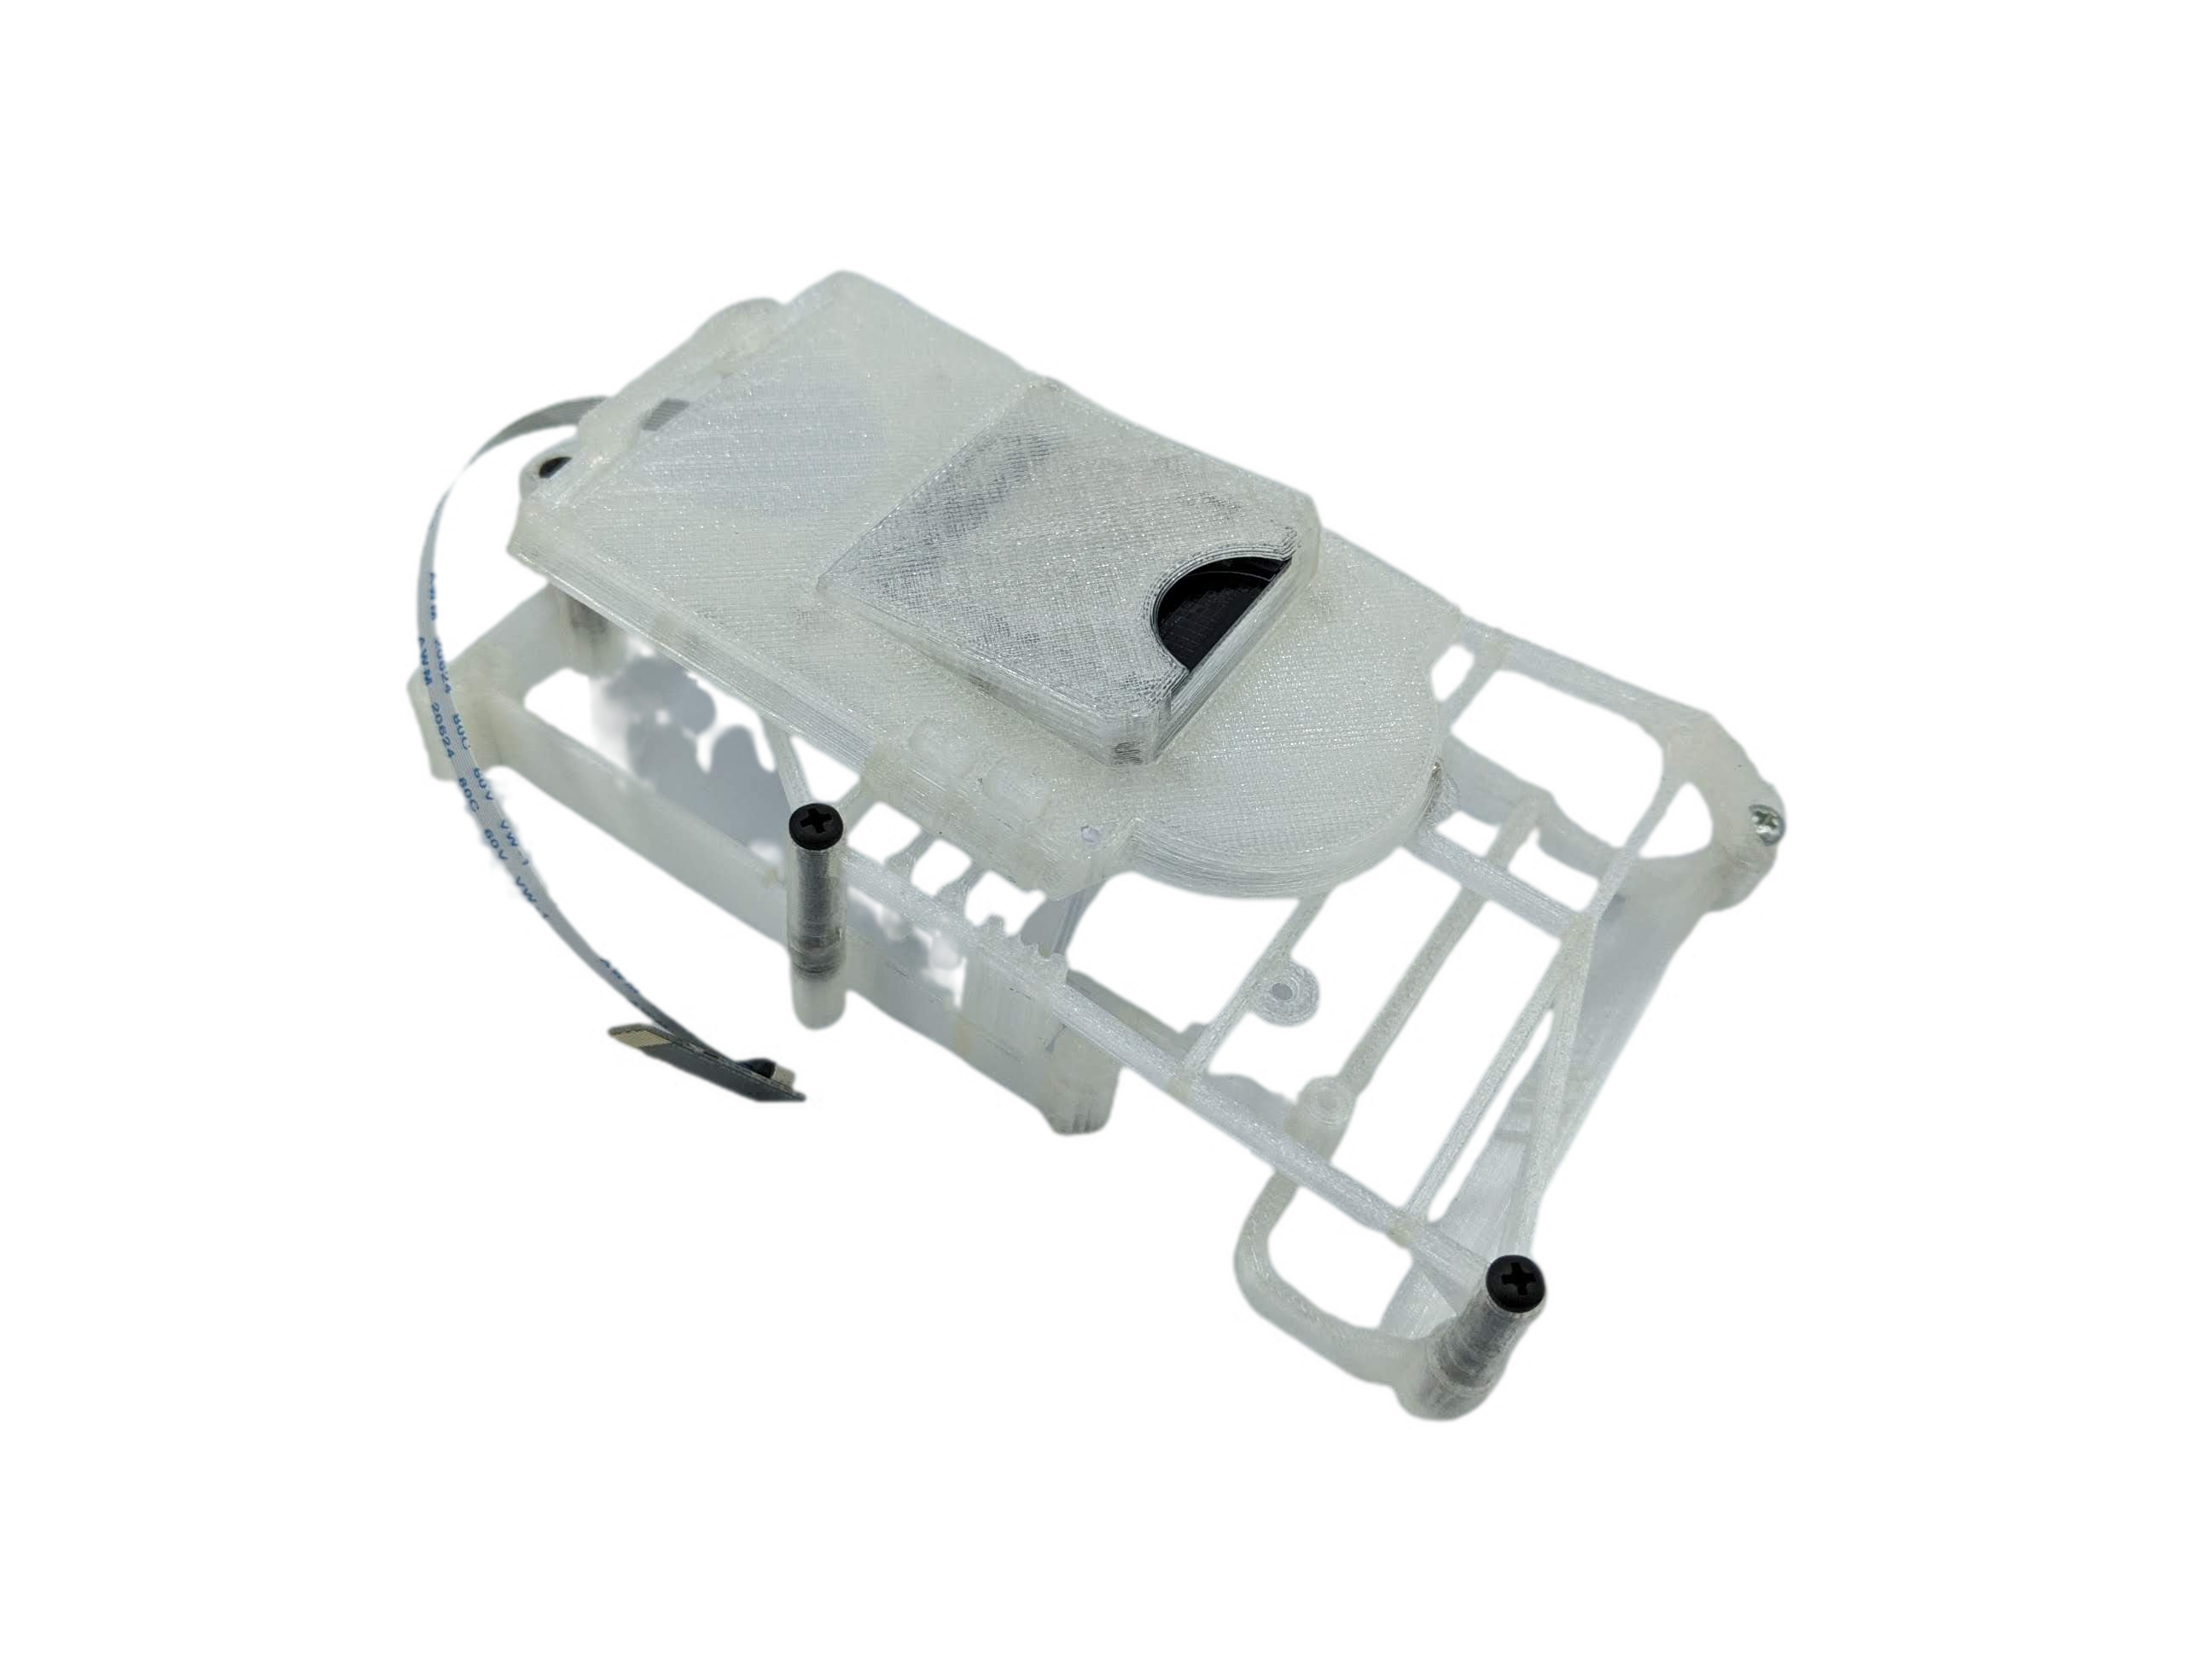
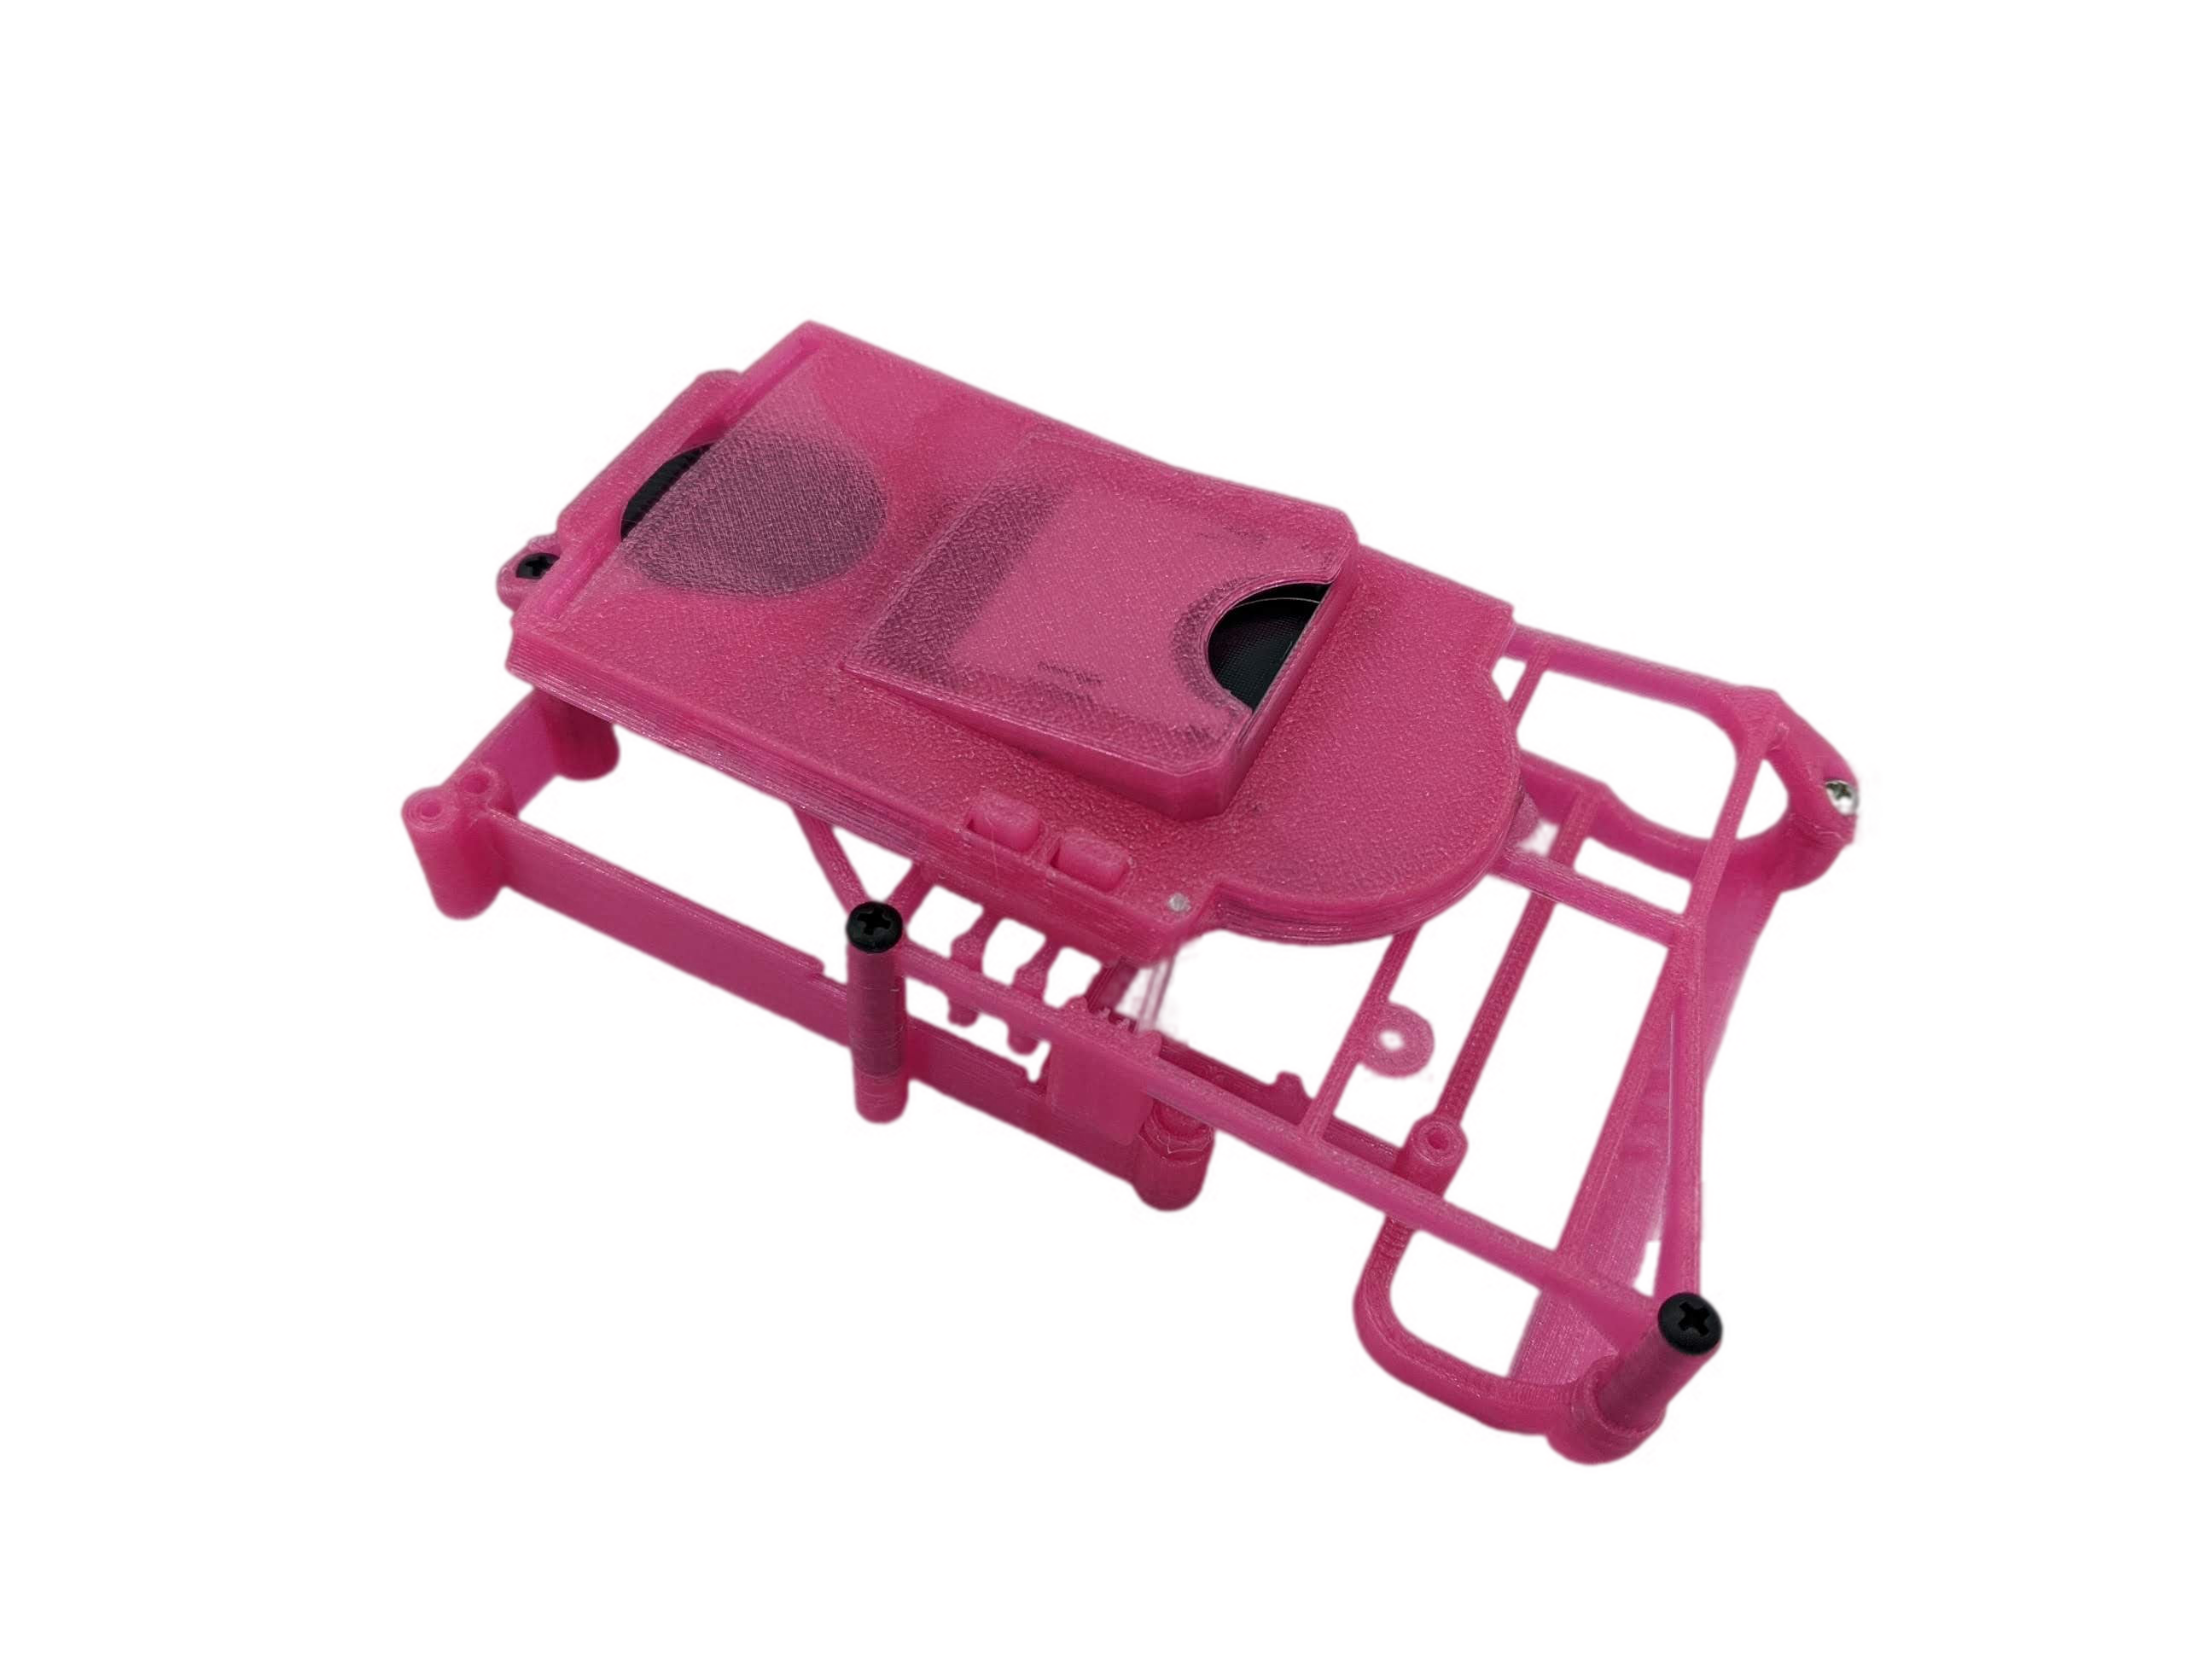
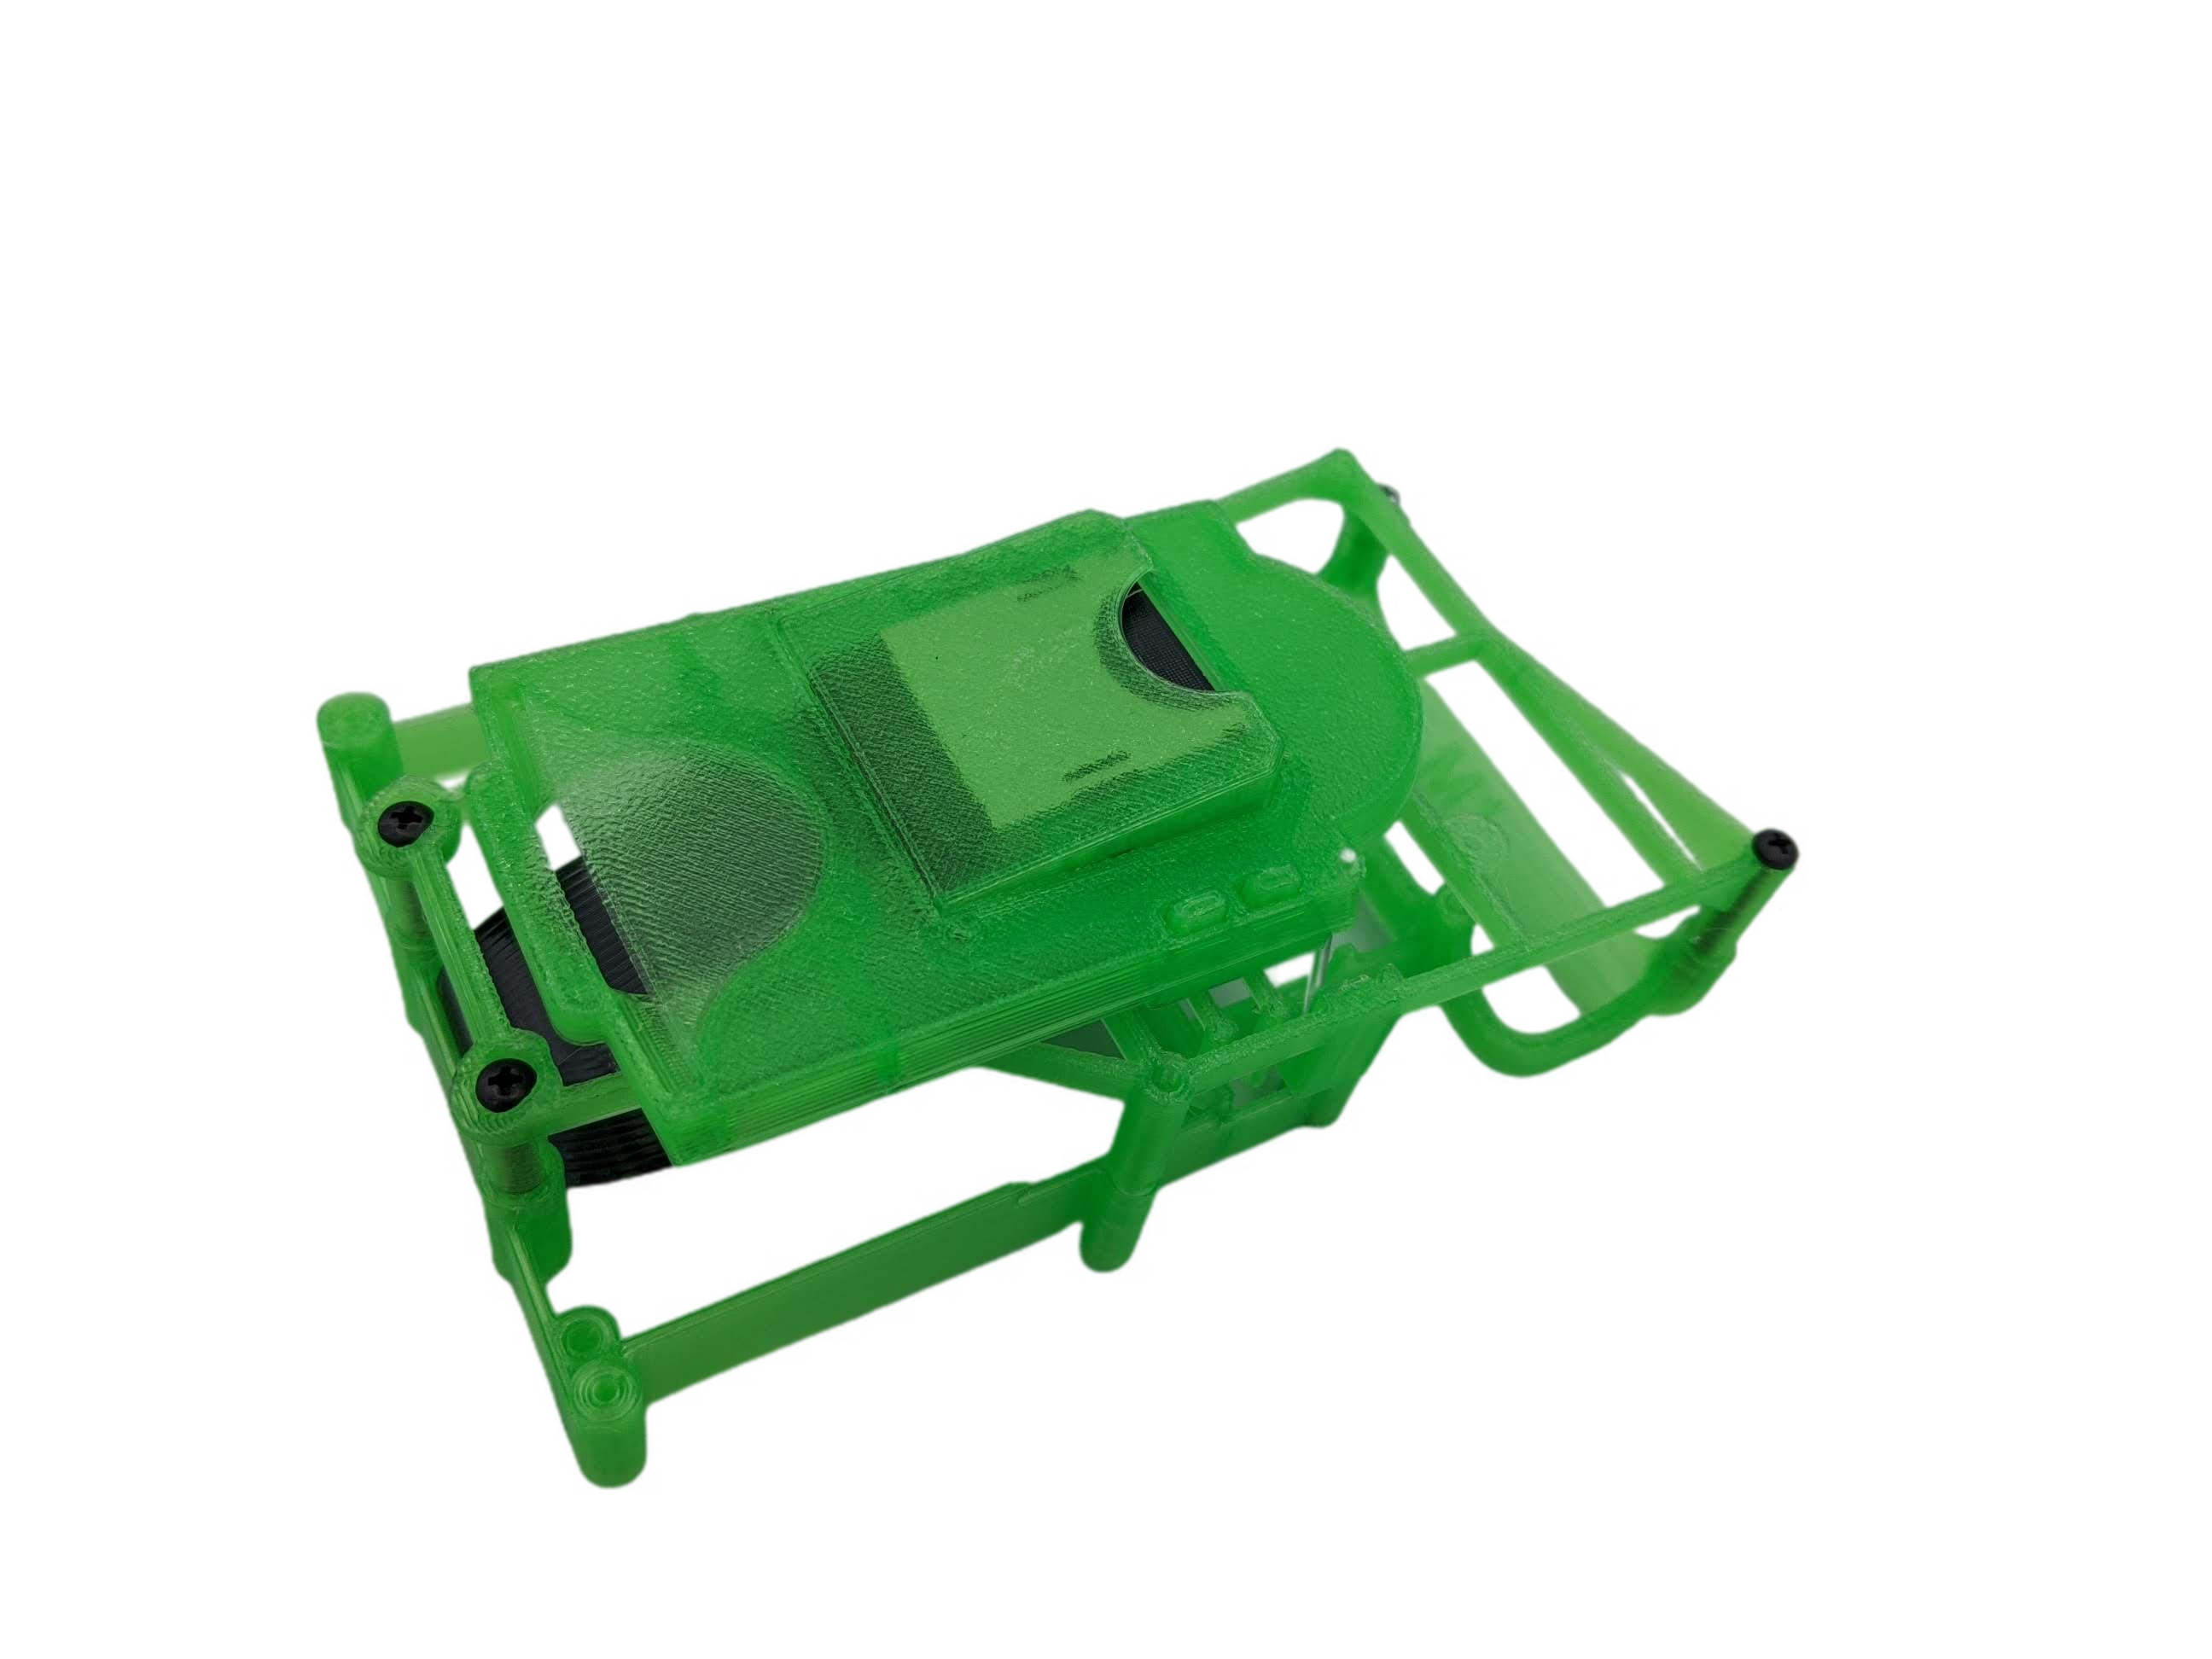
This kit provides the required parts to mount a MODE optical disk emulator in a Sega Saturn
The MODE is a product by Terraoninion and can be purchased here: https://shop.terraonion.com/en/home/17-Terraonion_MODE_Dreamcast_Saturn_ODE.html
Install instructions for the version with the soft metal shielding can be found here: https://youtu.be/dDSE5fbzrHk
Install instructions for all other versions can be found here: https://youtu.be/4s2EwoOhuwM
This mount comes with several parts that need to be assembled, but for a more plug and play option we do offer the bulk of the assembly to be done with Laser Bear staff.
The base needs to be screwed into the console on early Model 1 consoles this is done by removing the screws holding the disk drive stand offs, and using the included feet attached to the base to attach in the same place as the standoffs.
On the later model ones with the hard metal shielding you will need to remove the stand offs for the disk drive and screw the base into place in those spots.
After the base has been mounted you may install the MODE board. Then install the top cage, if you choose the kit option you will need to assemble to top cage. This is done by first installing the SD extension into the Extension hood, it presses into place. The extension hood then fits into the opening cover. Then the cover plate is screwed into place to secure the extension and hood in place. Once that is prepared we will install the Light pipe, The light pipe can be installed to indicate one of the three MODE LEDs depending on how you install it. Laser Bear assembled kits will have the light pipe over the HDD activity indicator. To install the light pipe you will take the piece of clear PETG filament and press it through the opening cover's light pipe hole. It should stick out a little bit. Then press the side that sticks through the bottom into the desired hole for the indicator you wish to use. Once it is in place its time to secure the opening cover in place on the top cage. Line it up to the correct holes and secure the opening cover in place. Now the top cage is complete.
Next we install the top cage on top of the MODE board with the included screws. Start by plugging in the SD extension and fold it over until it fits in place. Then use the screws to get everything secured in place.
MODE Saturn Mount Kit
Sale price$41.00